DaeumYeog Repairs / 2026-03-13 22:34:48
Installing an Internal BlueSCSI
After all these experiments, and because the original mechanical hard disk of my NeXTStation failed, I decided to install an internal BlueSCSI. The photo also shows the new fan, a Noctua NF-A9 PWM, for near-perfect silence  . .

Disassembling, Cleaning, and Fixing the Keyboard
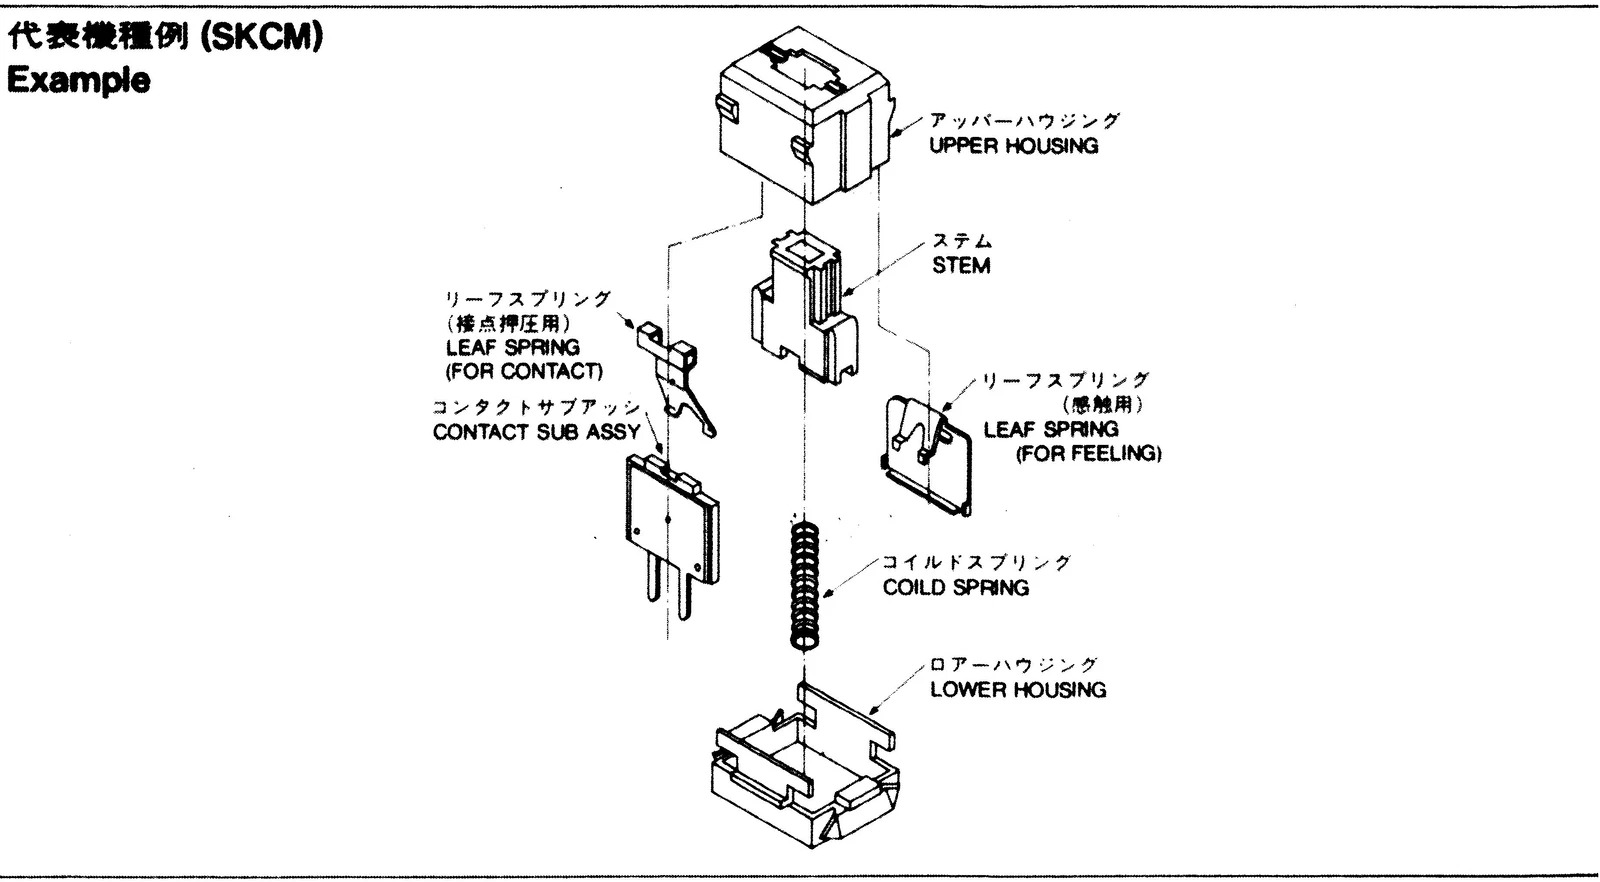
My NeXTStation ADB keyboard came "as is", which means that four keys weren't working, and it was pretty dirty  . The "broken" keys were 8 in the top row, d and j in the middle row, and 0 in the num pad. Below, I show how to disassemble, clean, and fix this keyboard! The NeXTStation ADB keyboard uses Alps SKCM black key switches. I found a blueprint for these switches on eBay and a video on YouTube by Chyrosran22 that explains how to disassemble and clean one of them. . The "broken" keys were 8 in the top row, d and j in the middle row, and 0 in the num pad. Below, I show how to disassemble, clean, and fix this keyboard! The NeXTStation ADB keyboard uses Alps SKCM black key switches. I found a blueprint for these switches on eBay and a video on YouTube by Chyrosran22 that explains how to disassemble and clean one of them.
Taking Care of the Keyboard
| Photo |
Comment |
 |
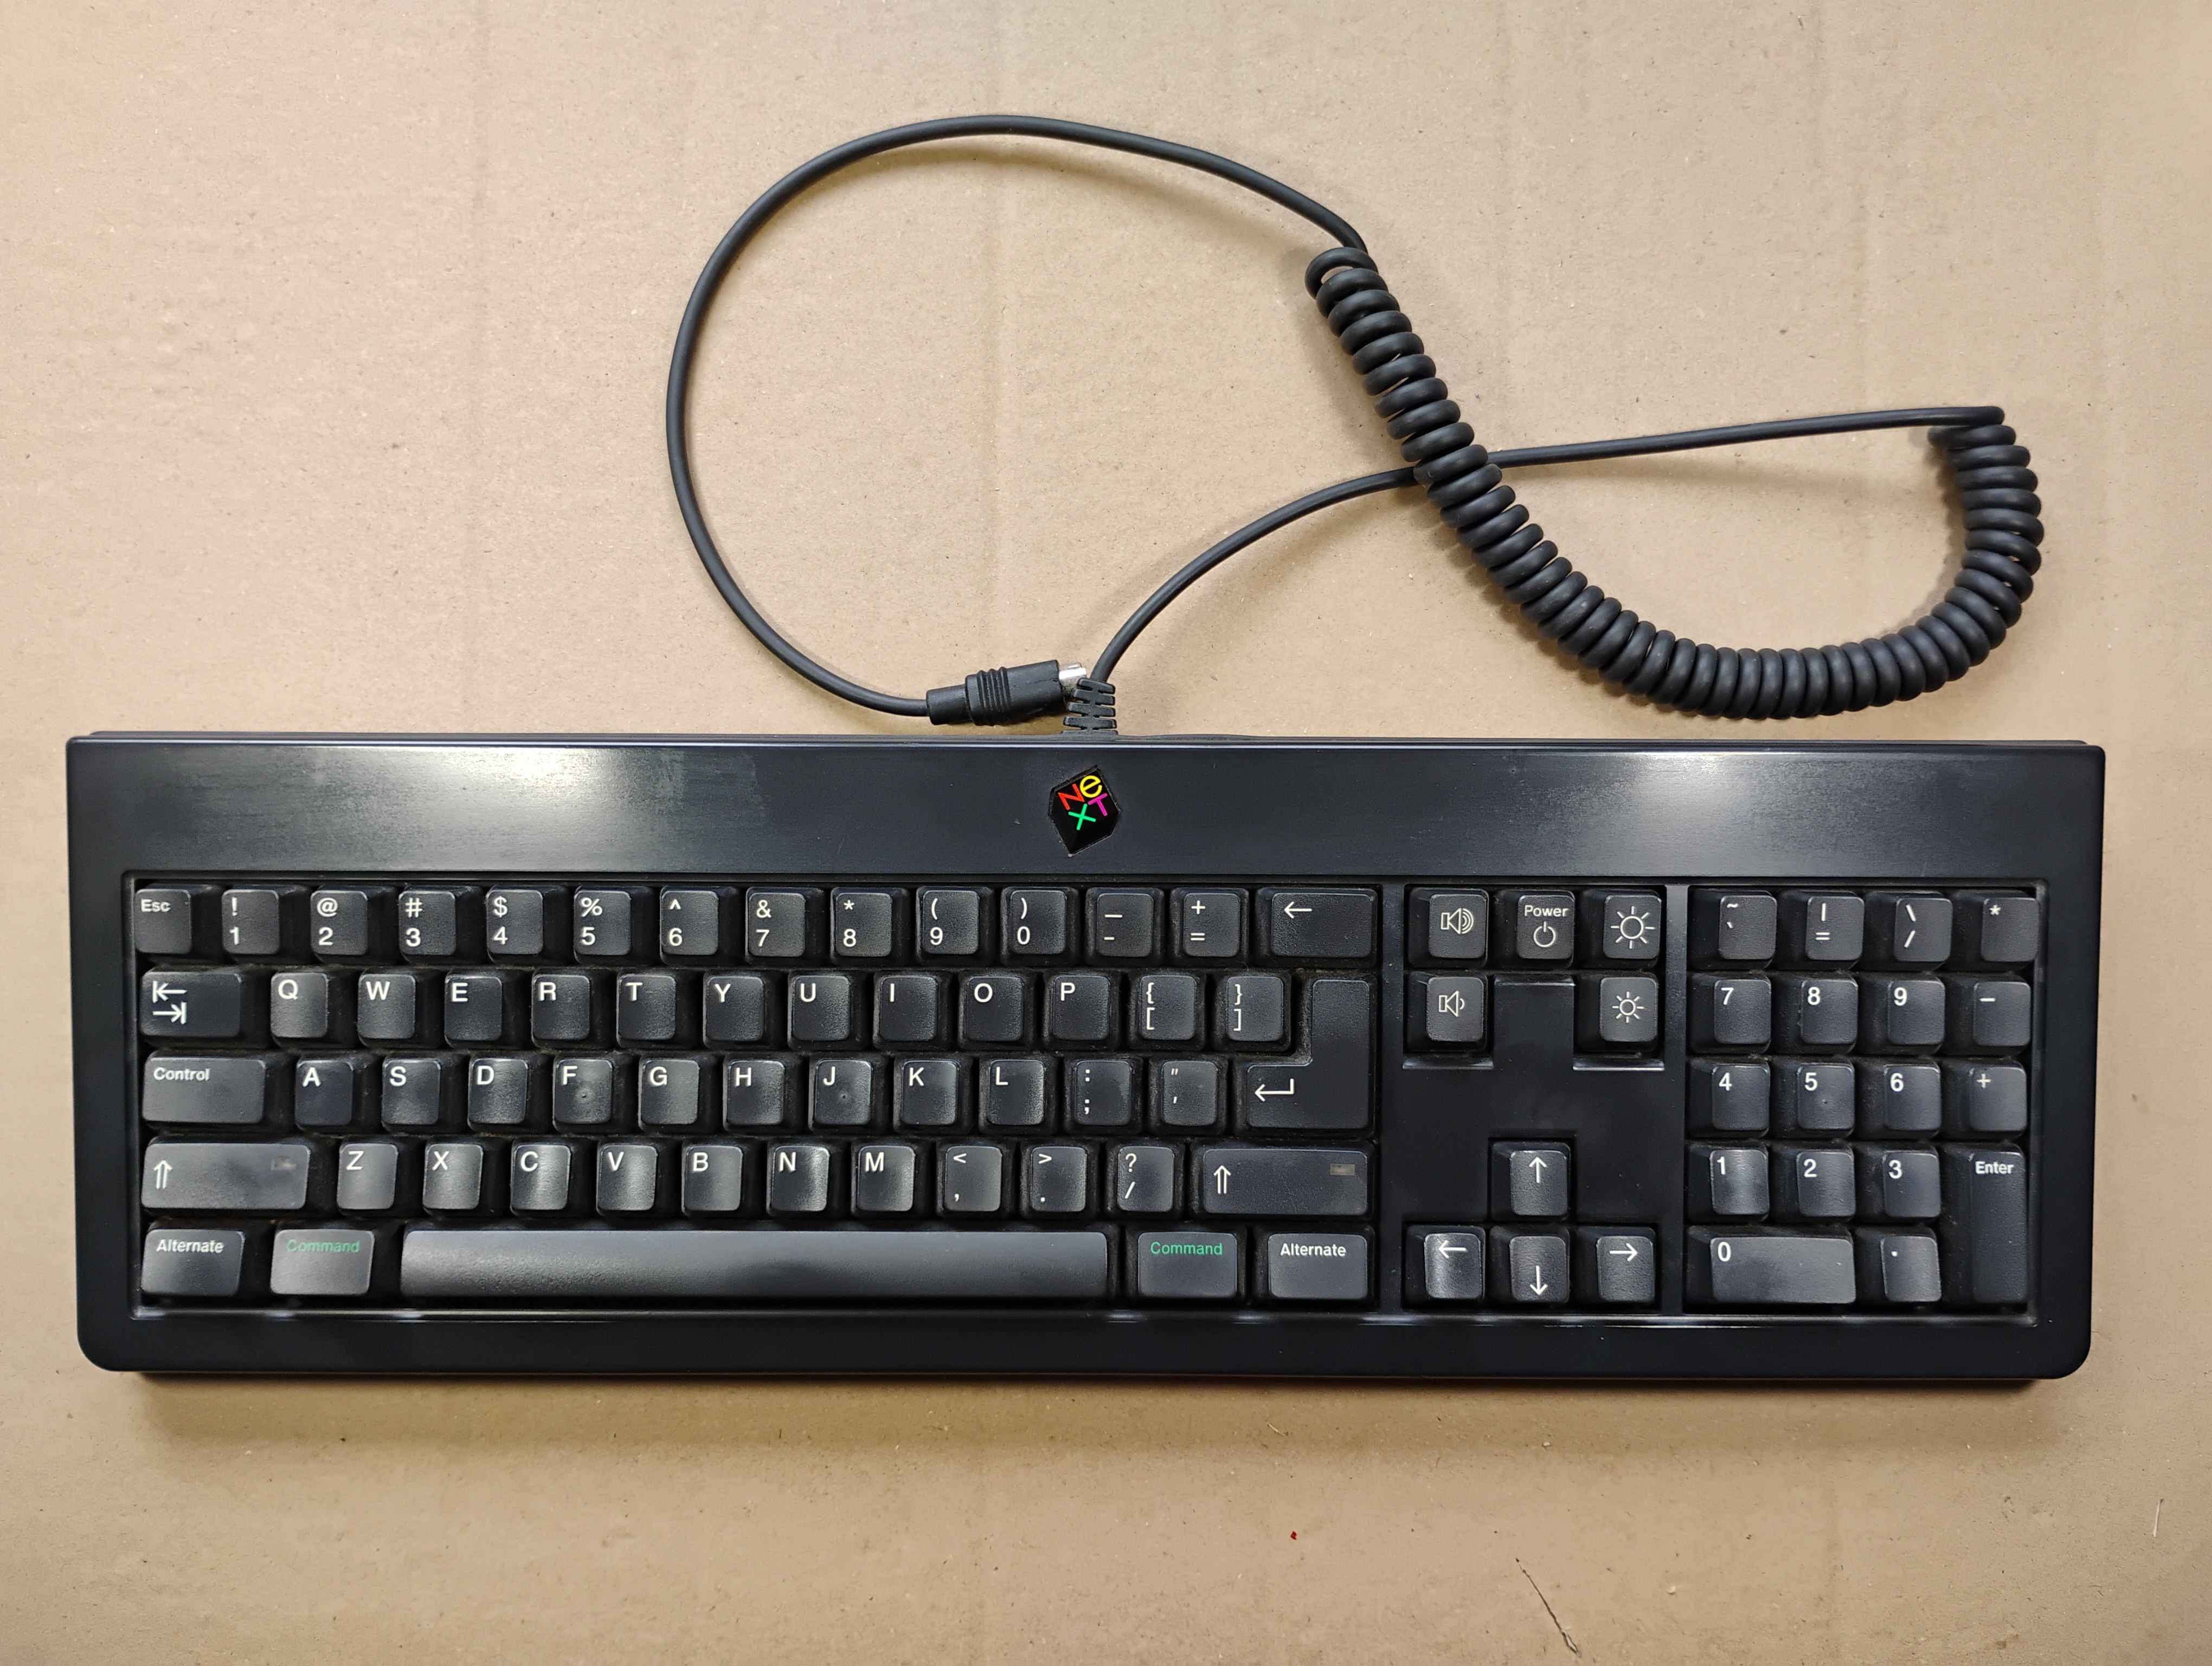
The keyboard before cleaning doesn't look bad, but wait to see inside  . . |
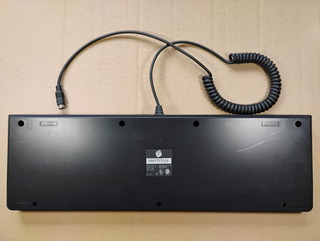 |
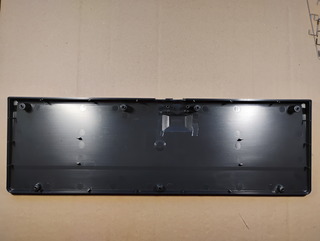
The back of the keyboard with its serial number, ABP1717723. |
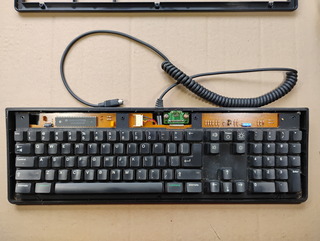 |
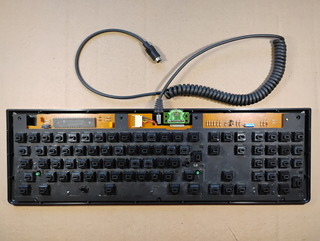
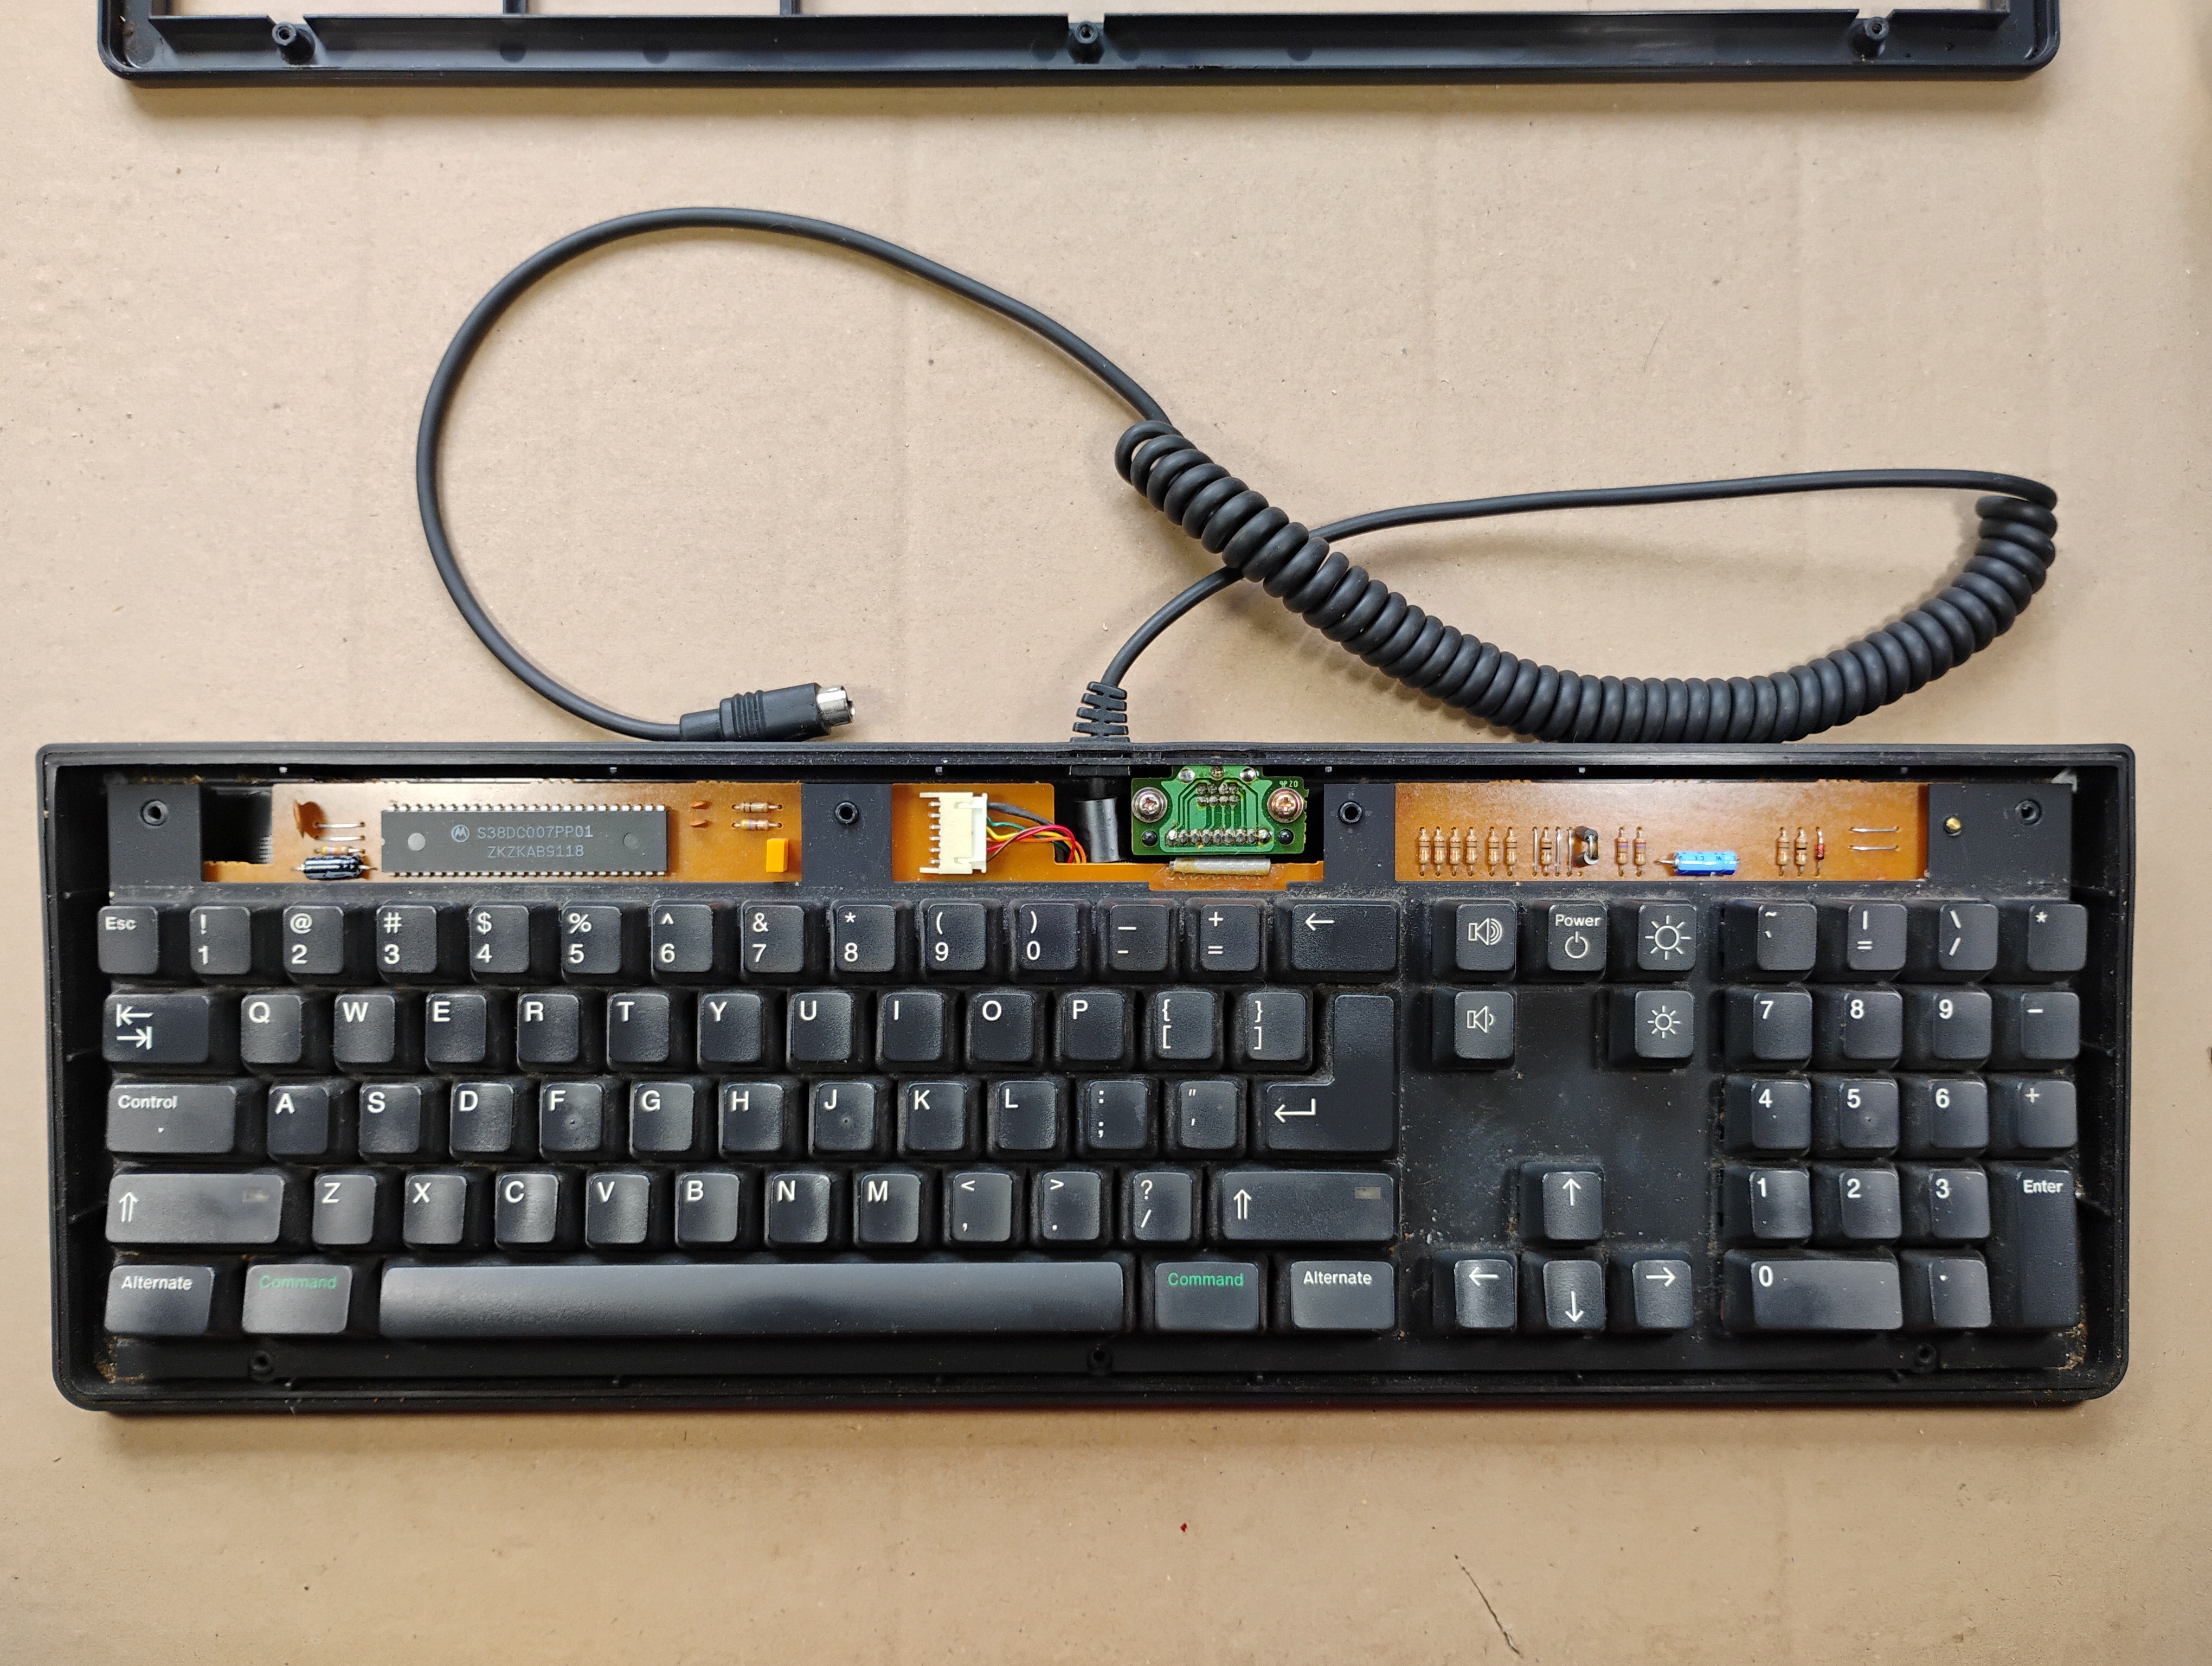
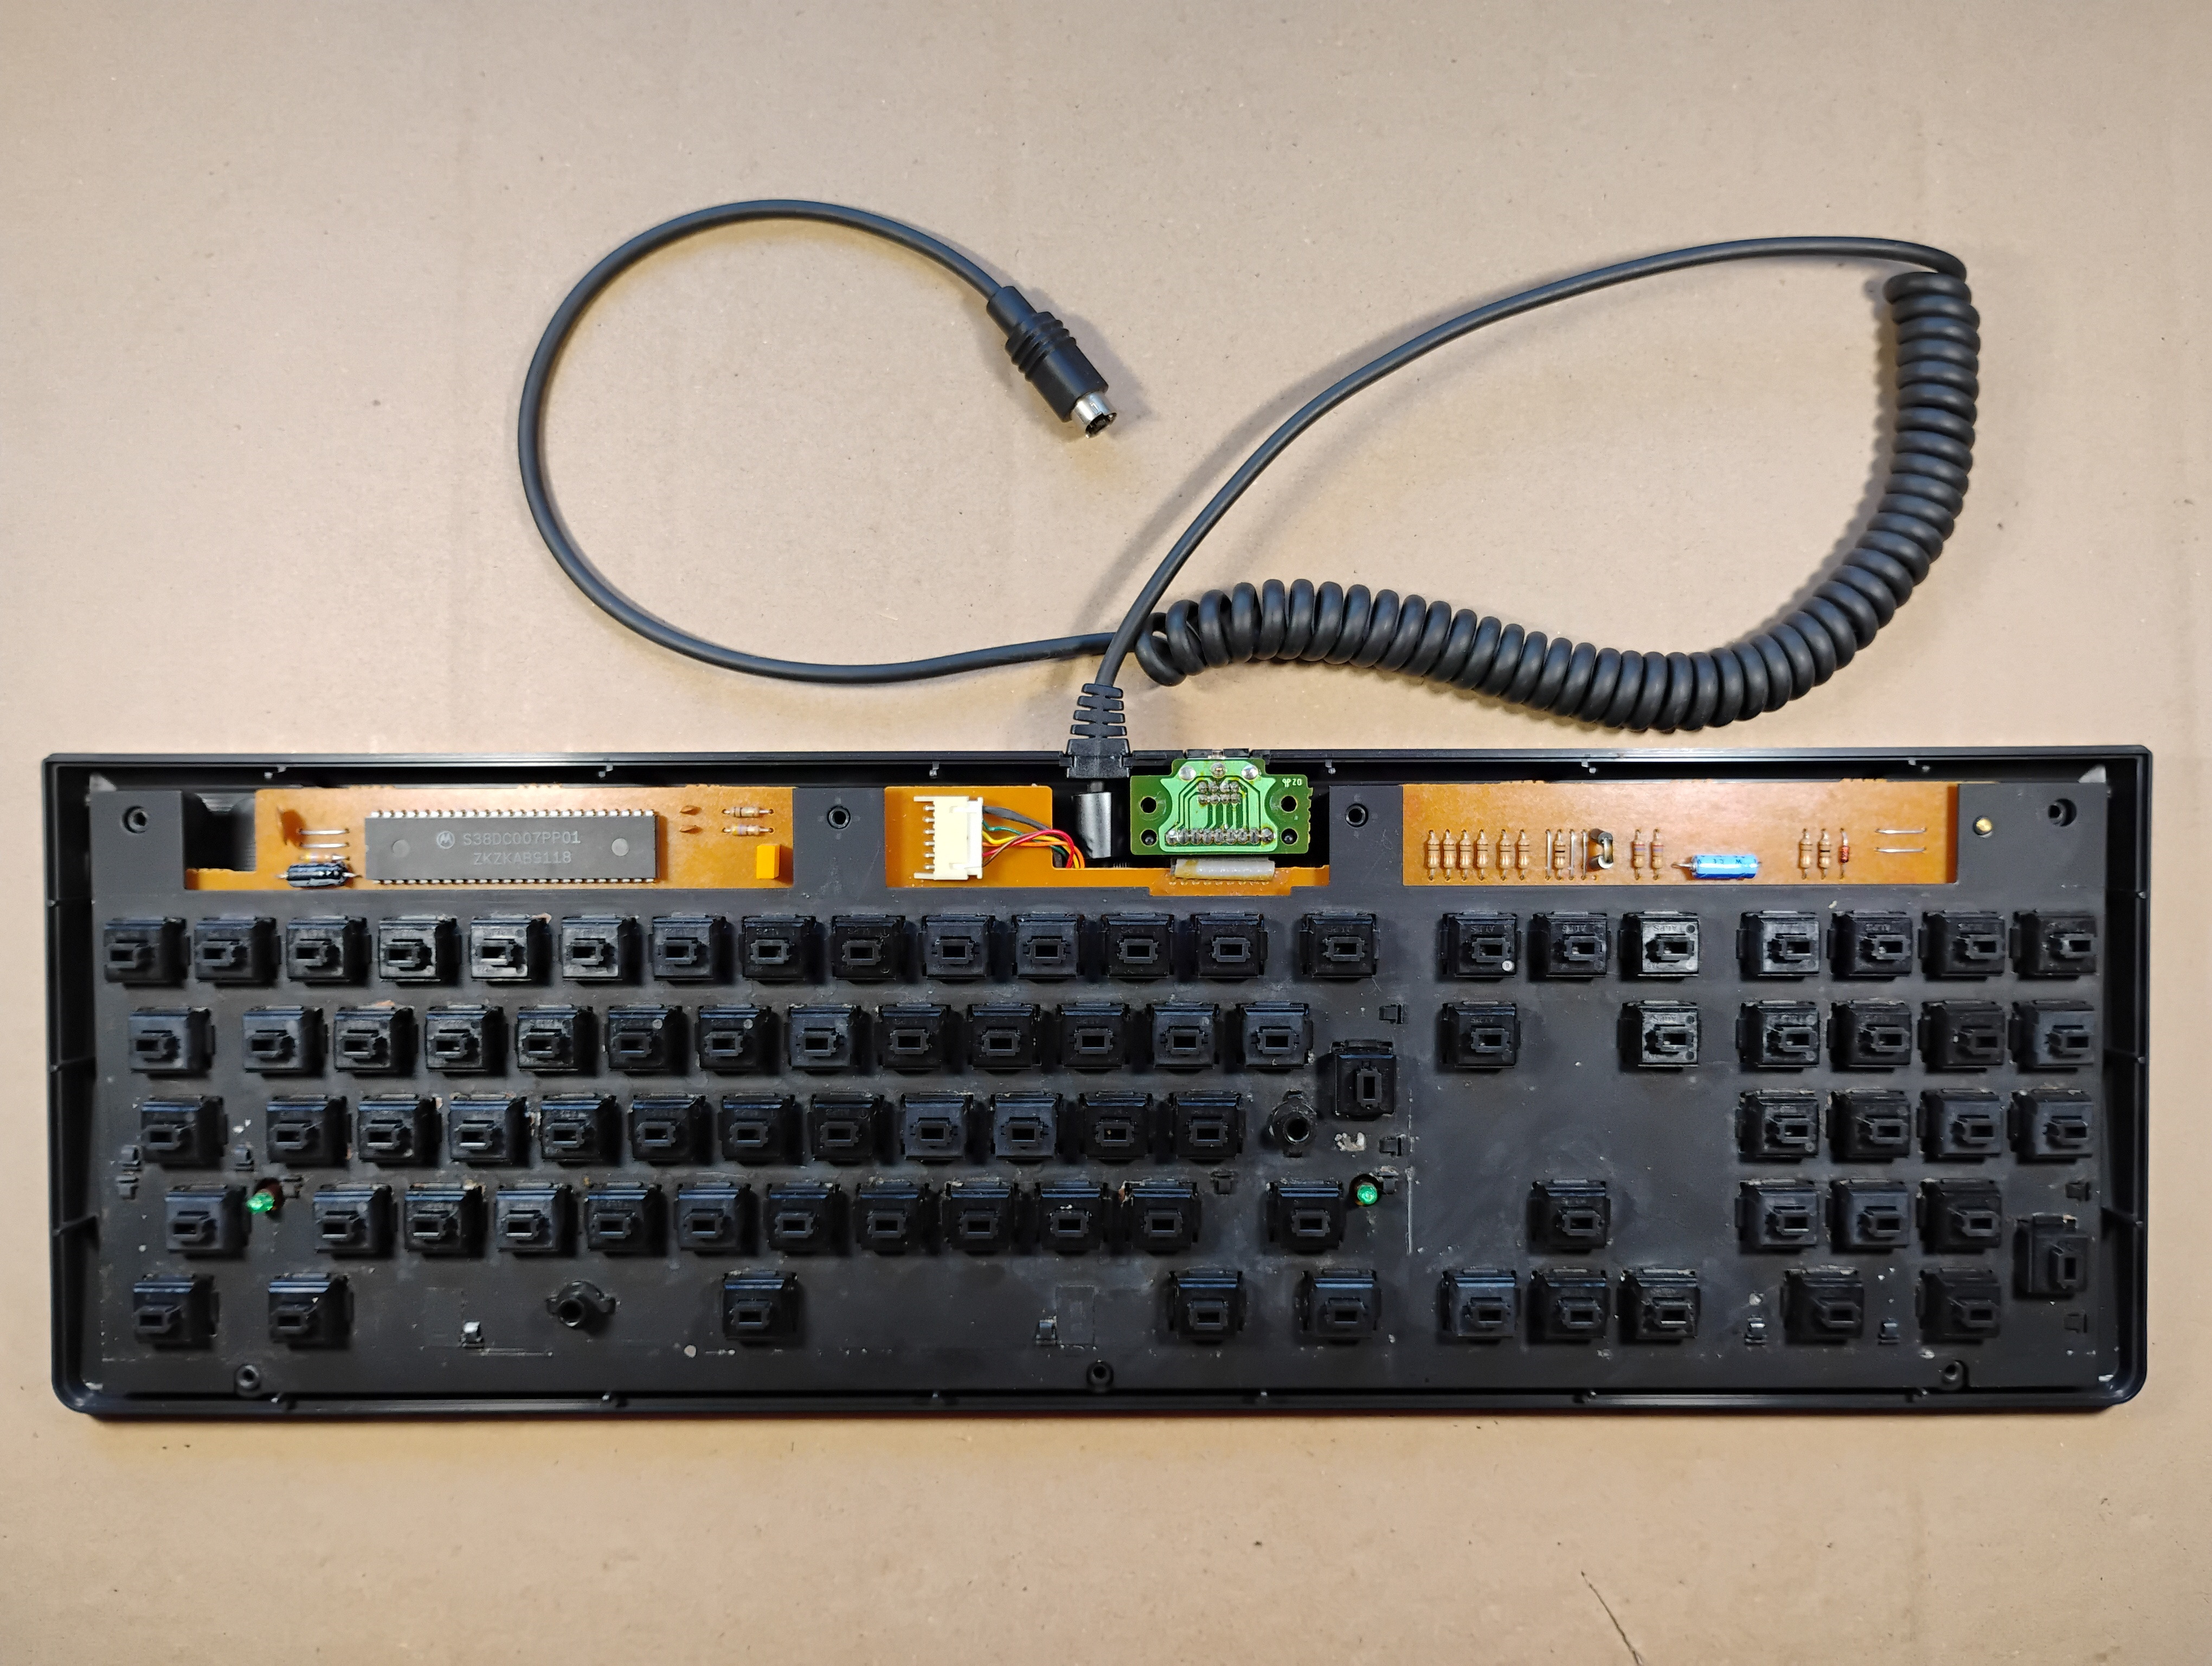
The keyboard without its top cover. There's a rubber gasket between the top and bottom covers. |
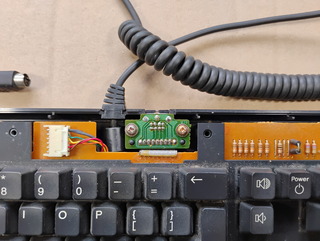 |
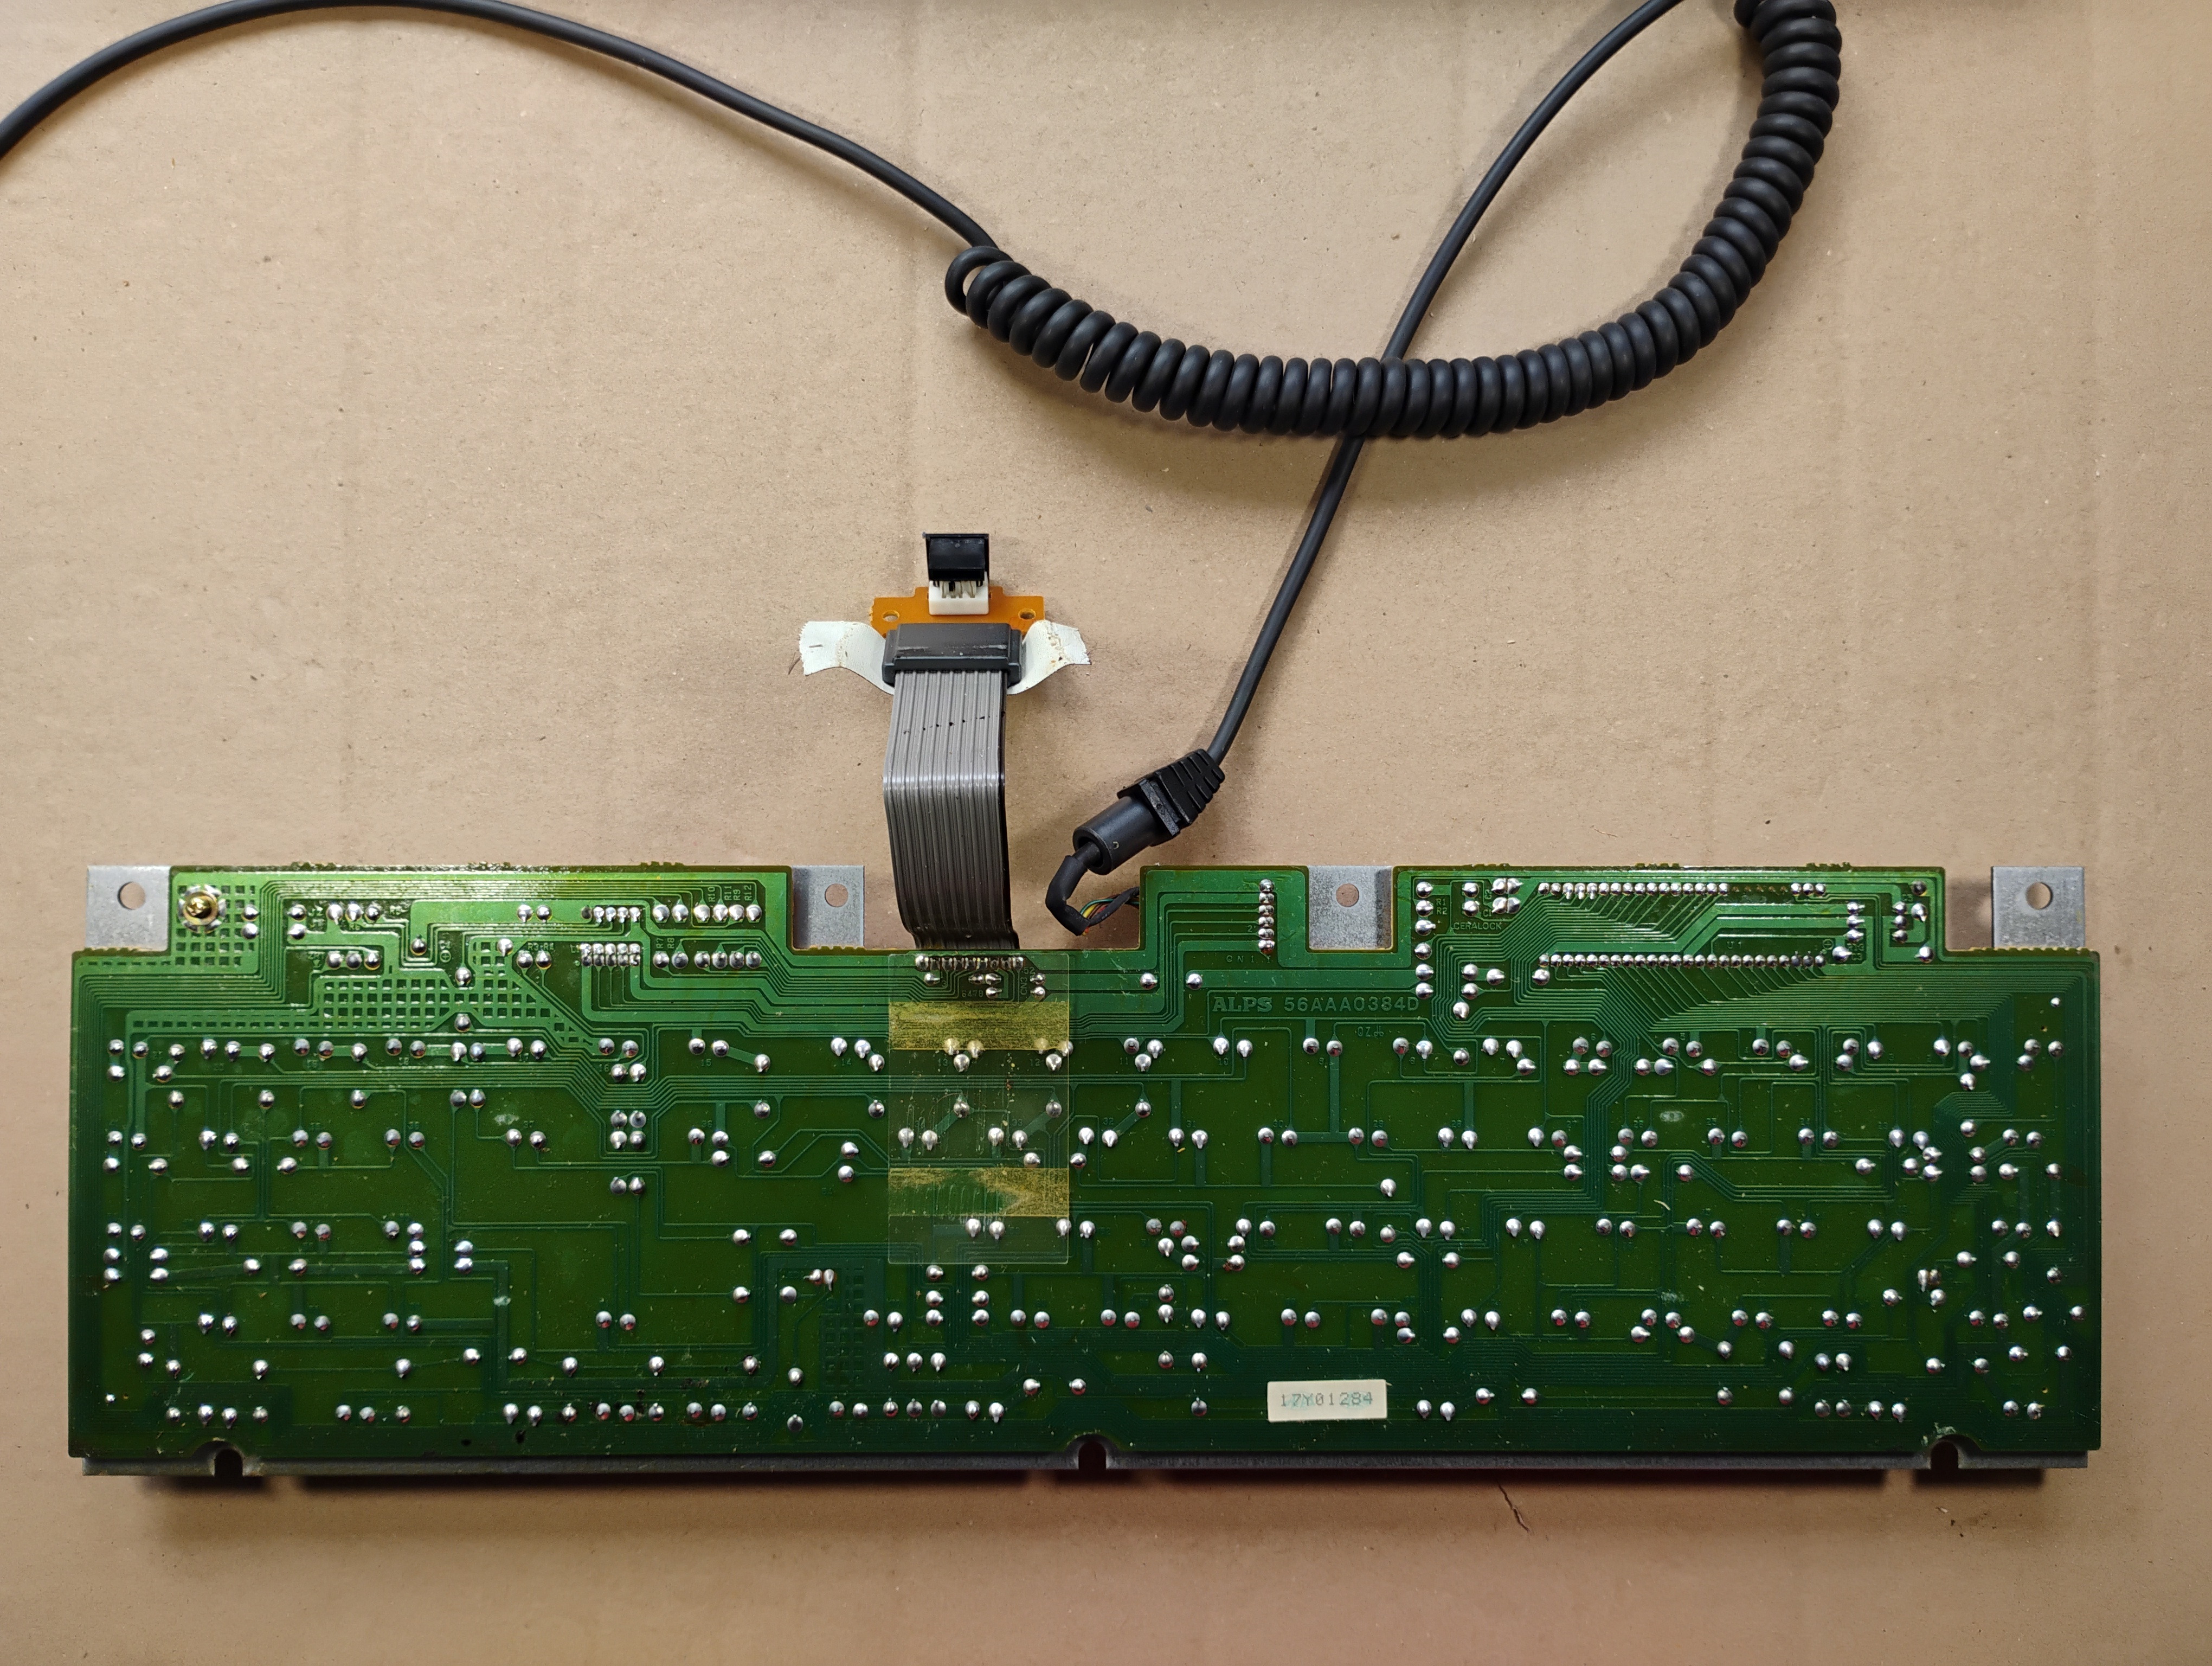
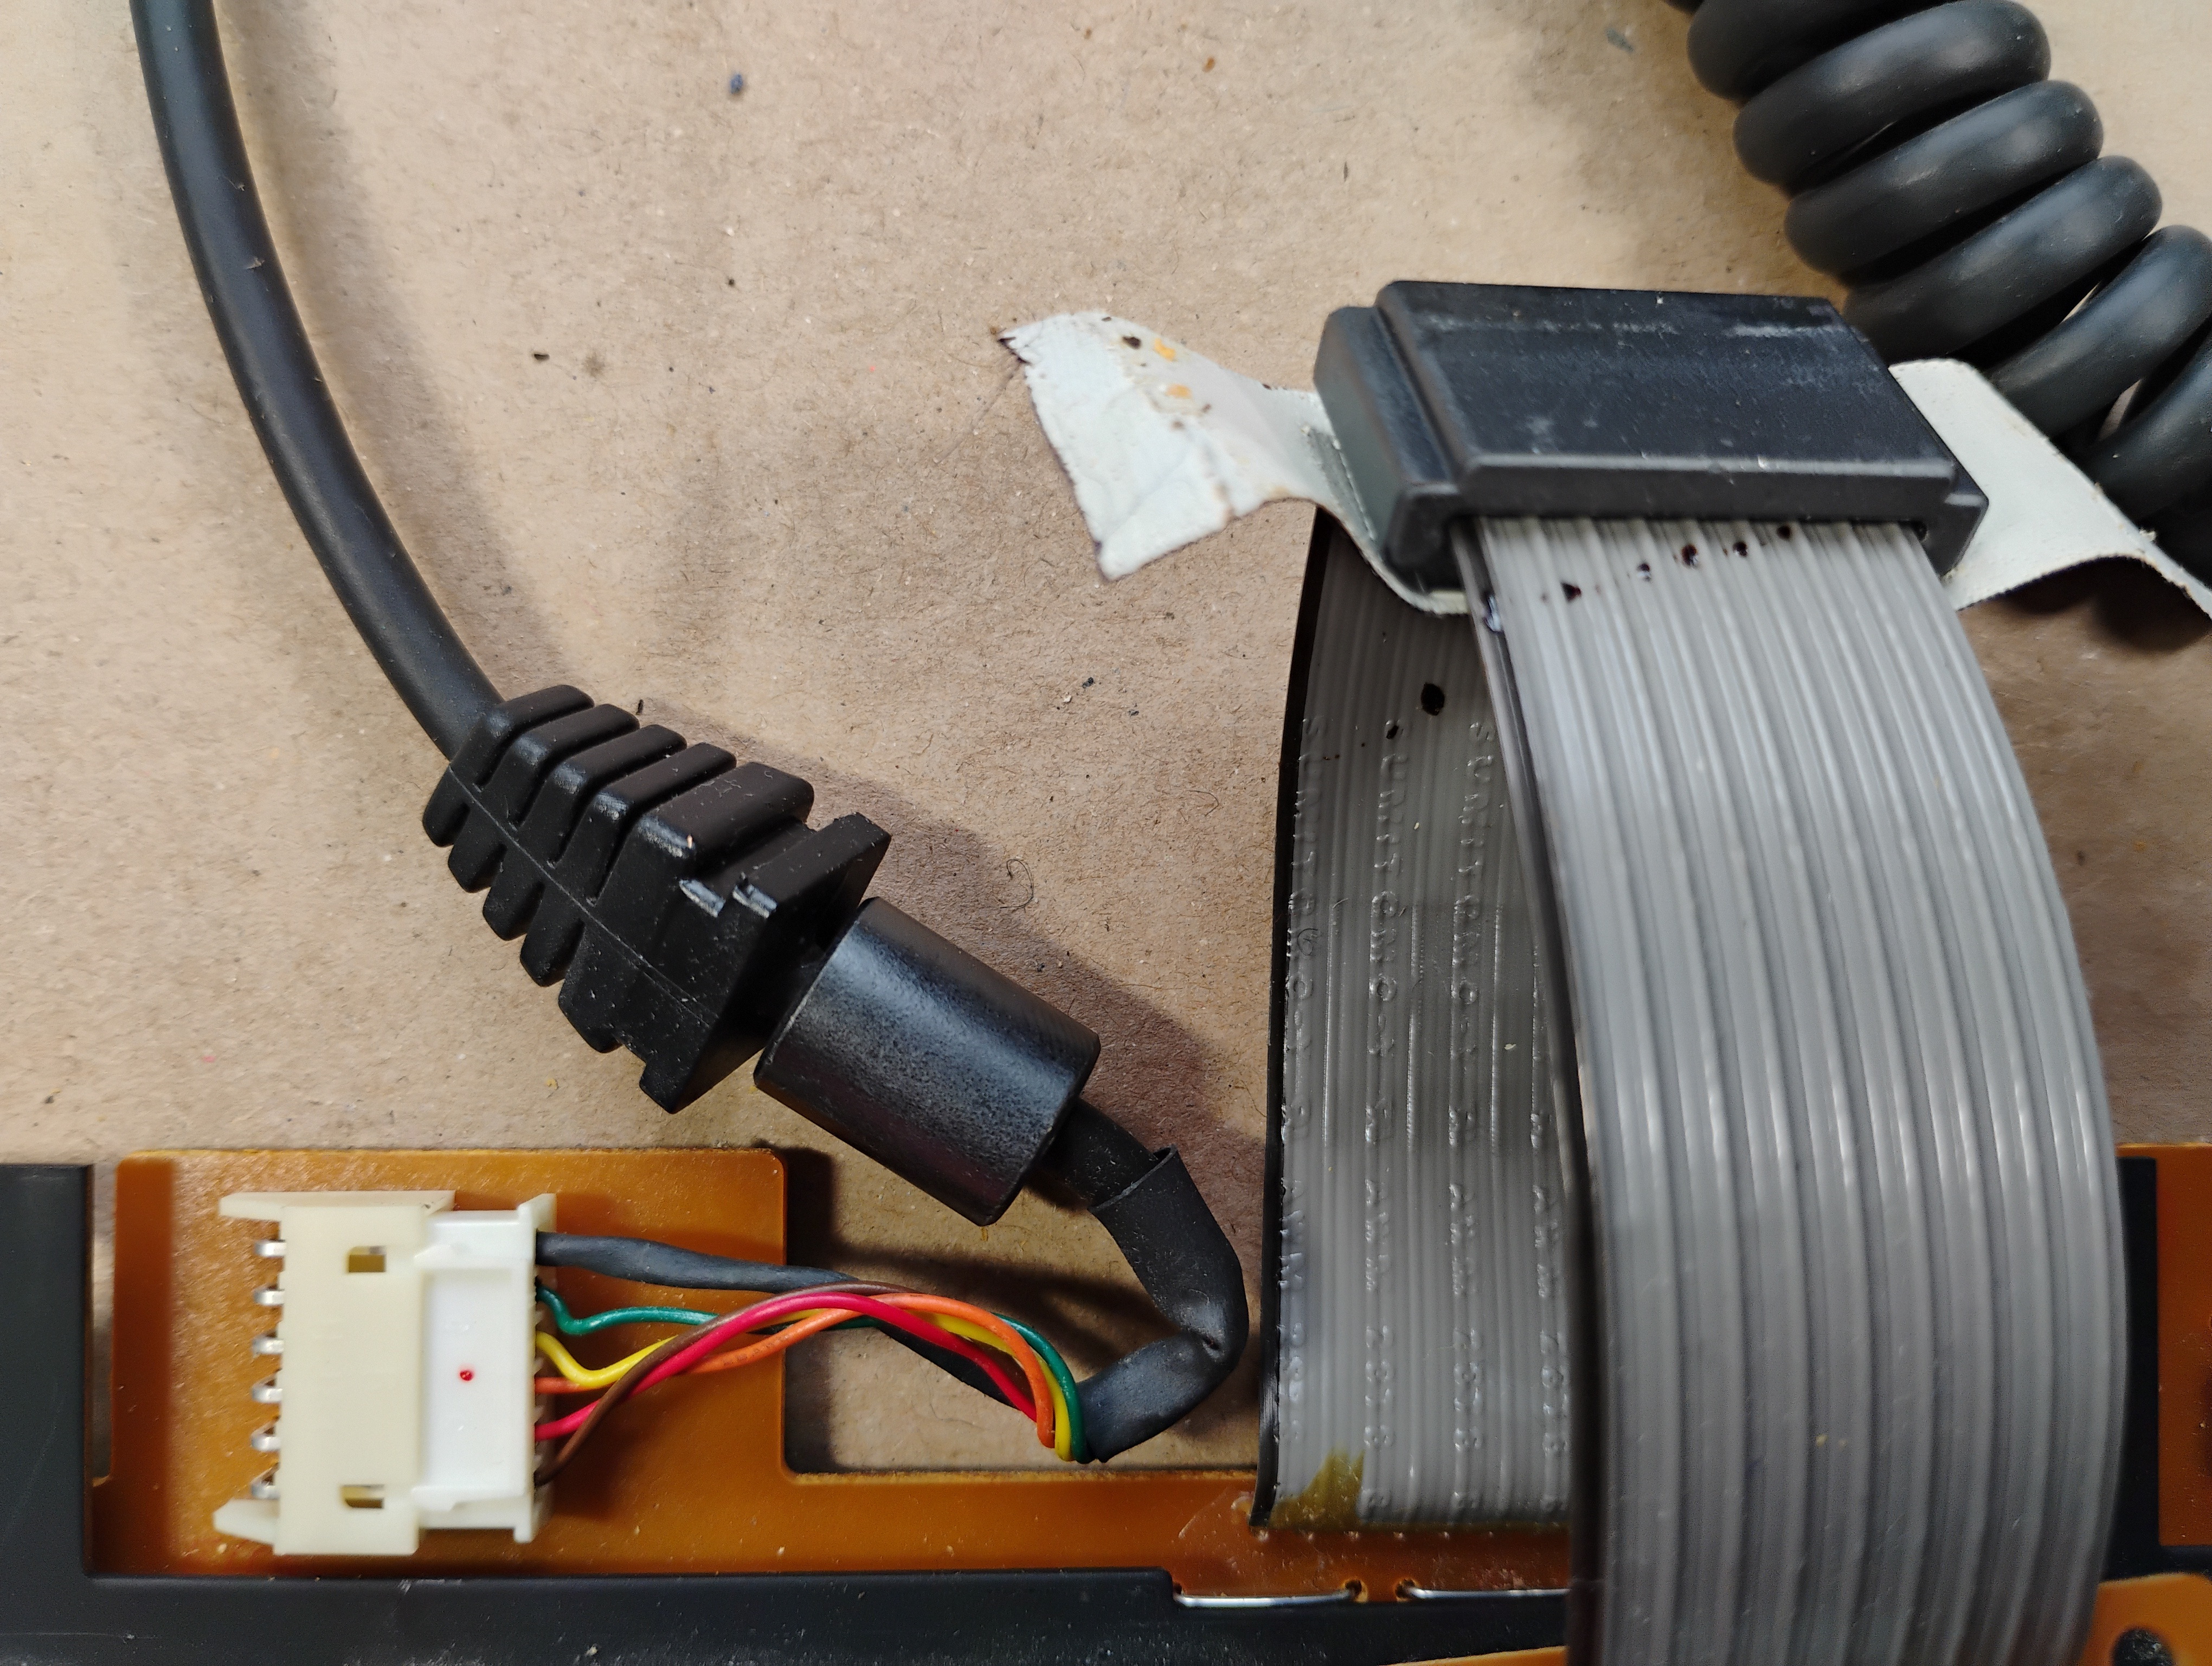
Zoom in on the connectors: the cable to the monitor and the connector for the mouse. |
 |
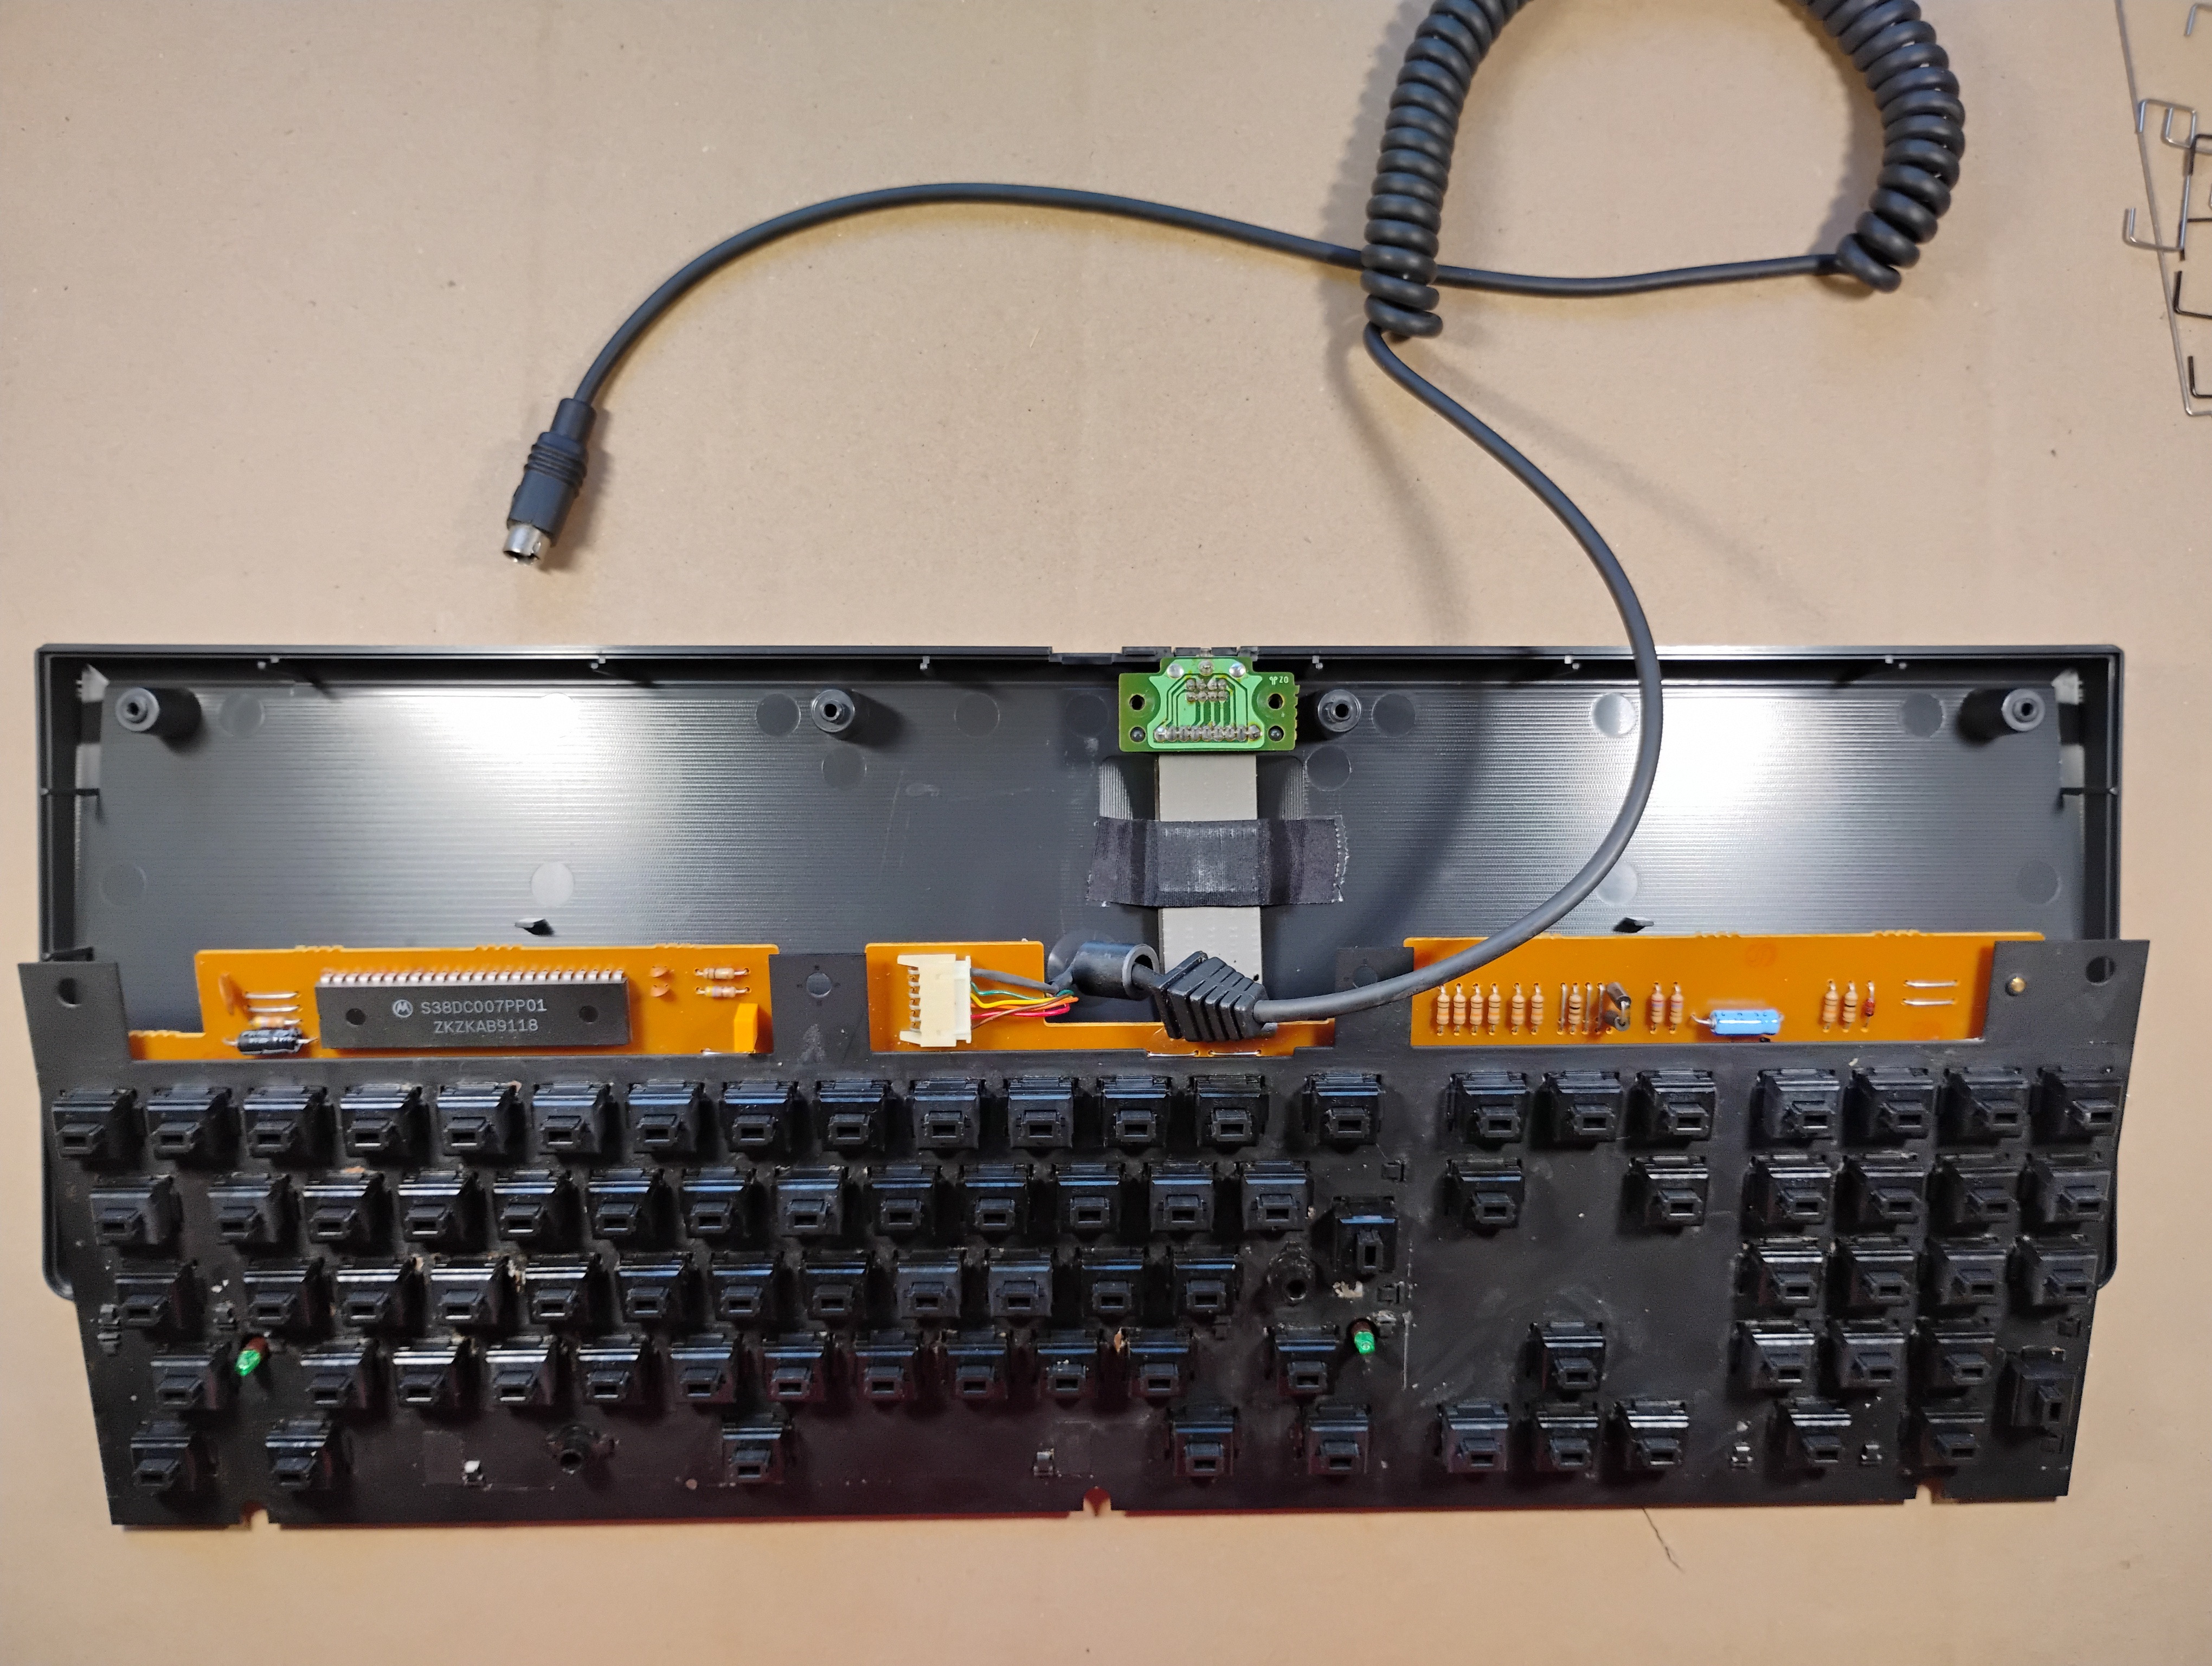
The flat cable for the mouse connector is actually pretty long and folded under the keyboard plate. The bottom cover is very dirty, and the water turned brown when cleaning it up... This keyboard drank coffee at one point . |
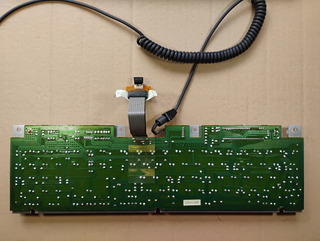 |
The back of the keyboard is clean. |
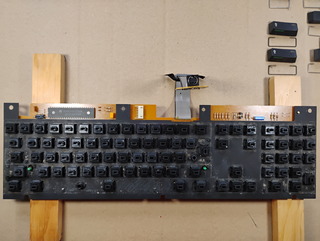 |
The top of the keyboard plate, without the keycaps, is very dirty... |
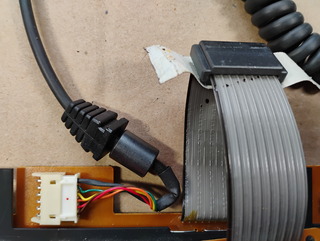 |
Zoom in on the cable connector, showing the little red dot. |
 |
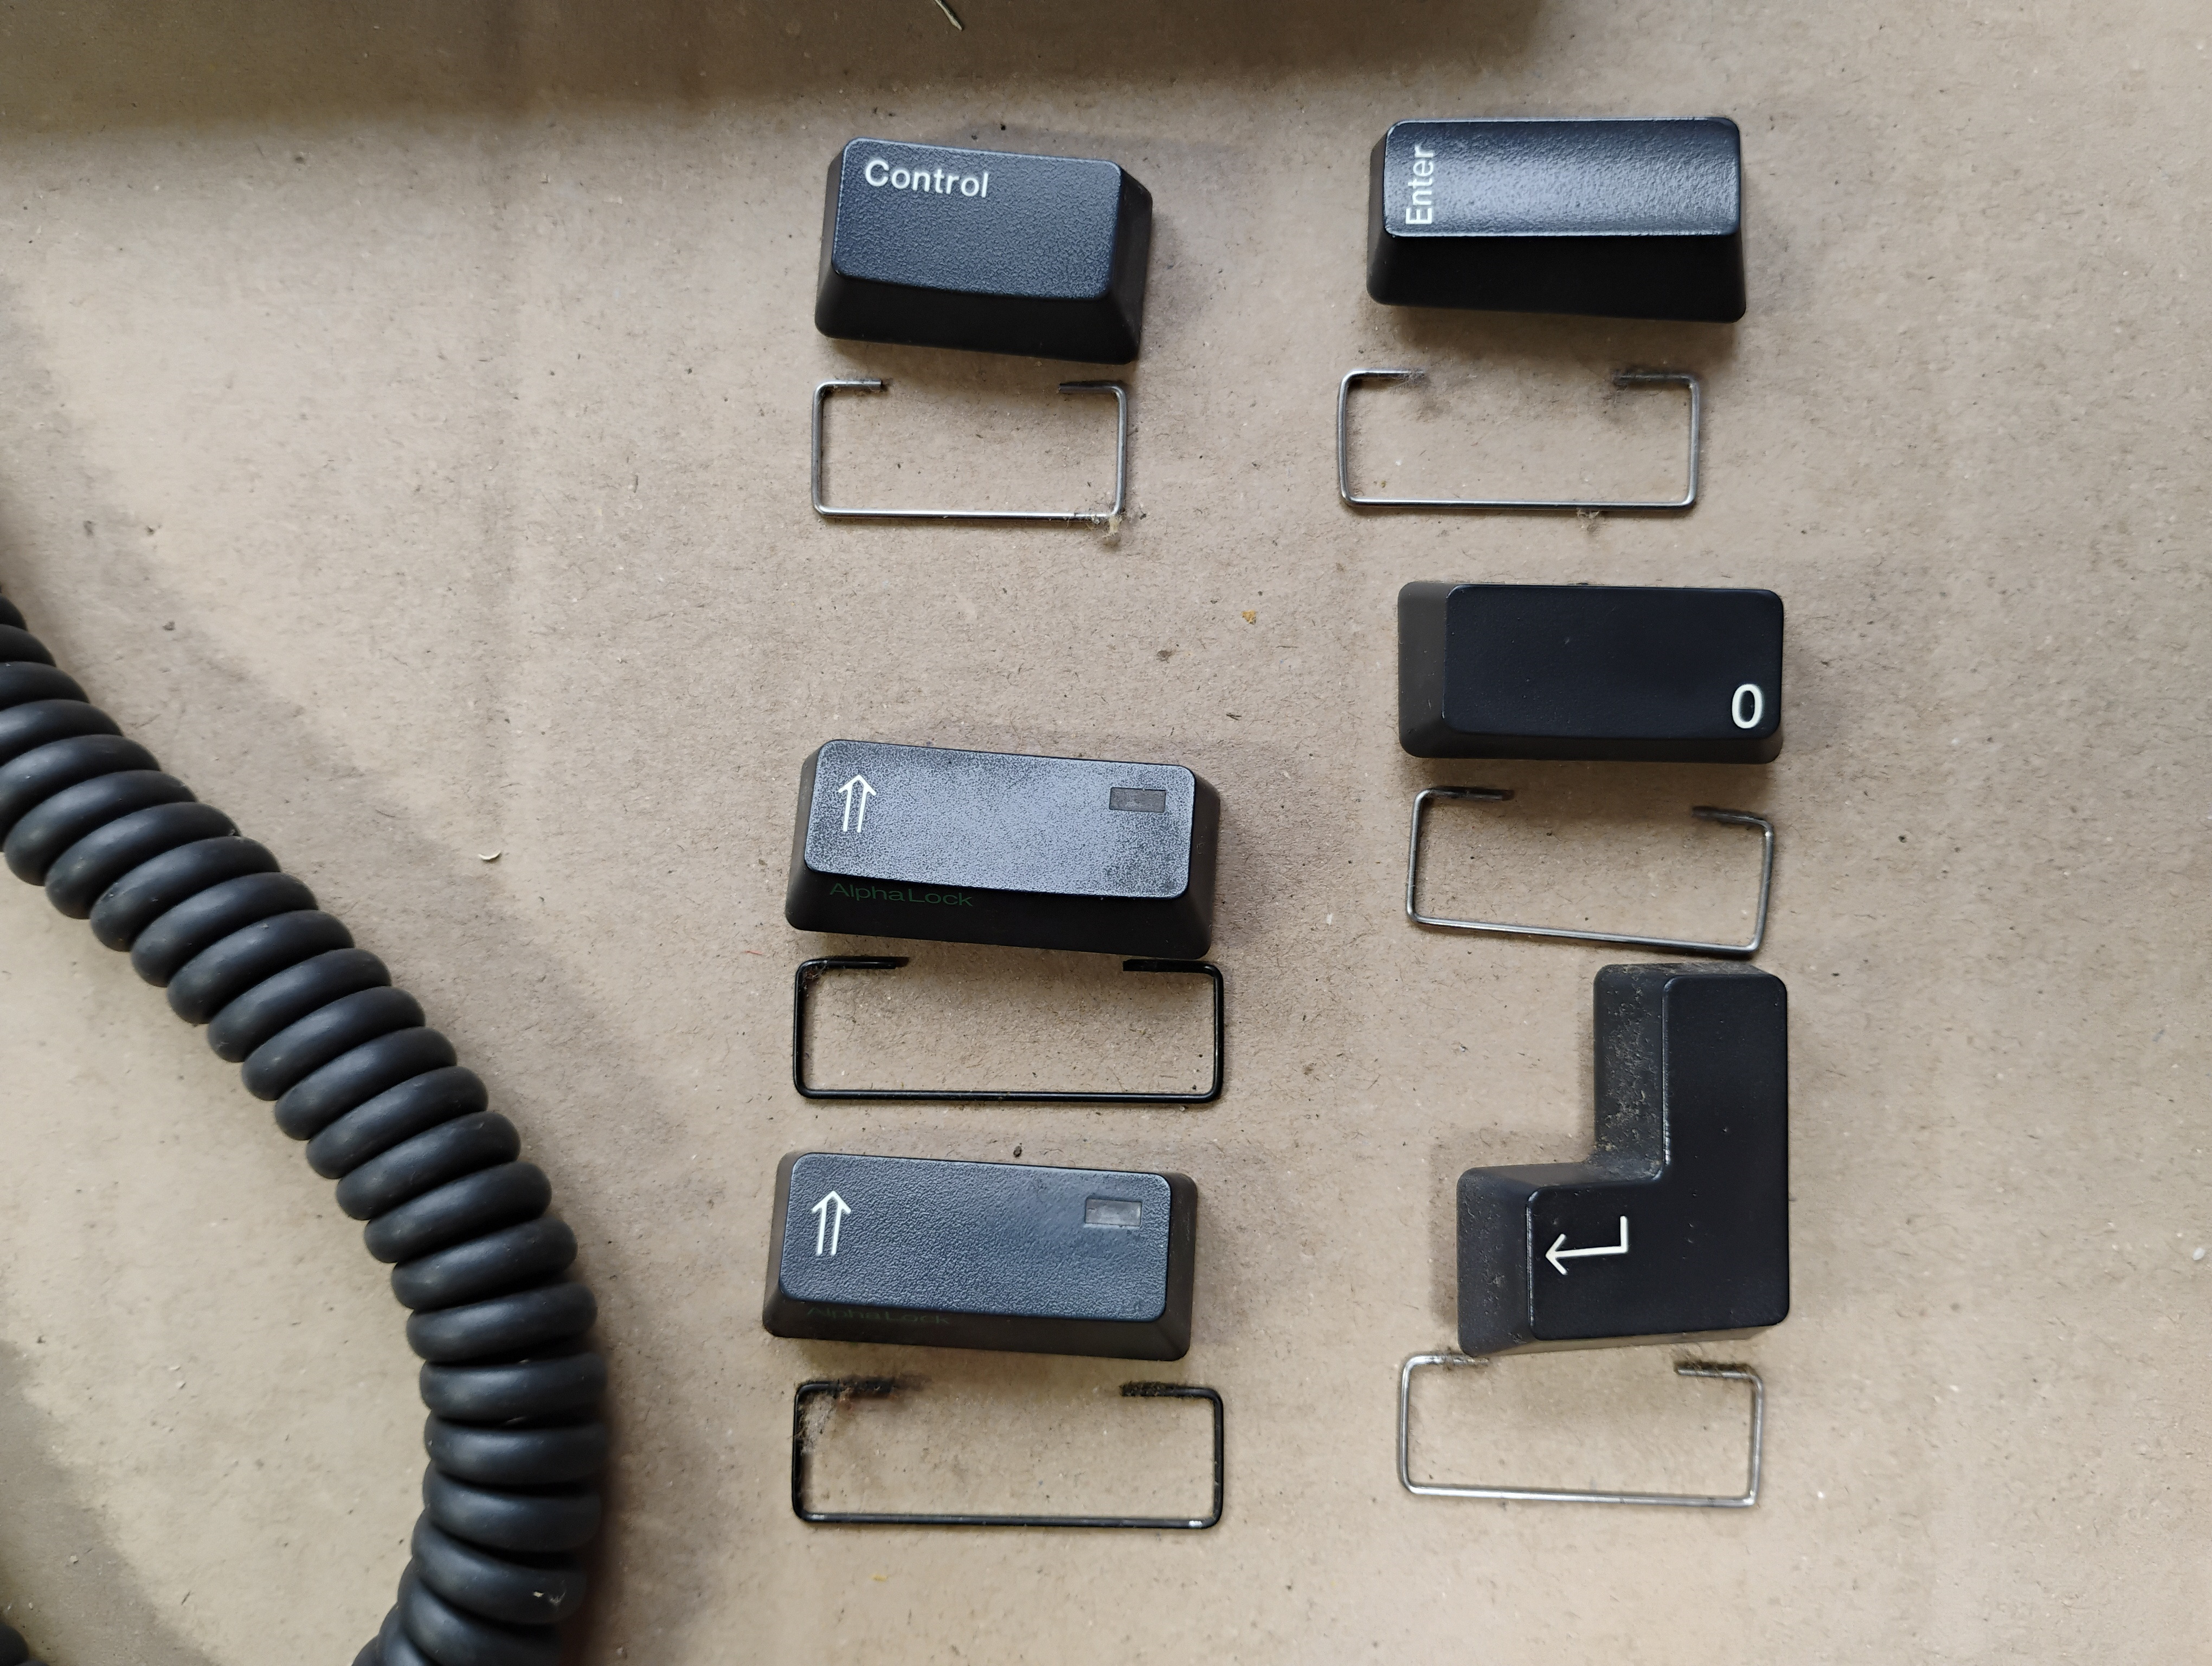
Some of the "long" keys have metal supports: two black ones for the Shift keys, a shorter one for the Control key, and the remaining have the same size for the Enter, Return, and (numpad) Zero keys. |
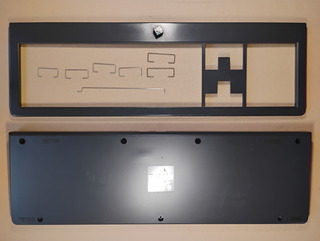 |
The top and bottom covers, and the metal supports, after cleaning. |
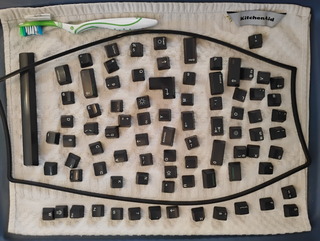 |
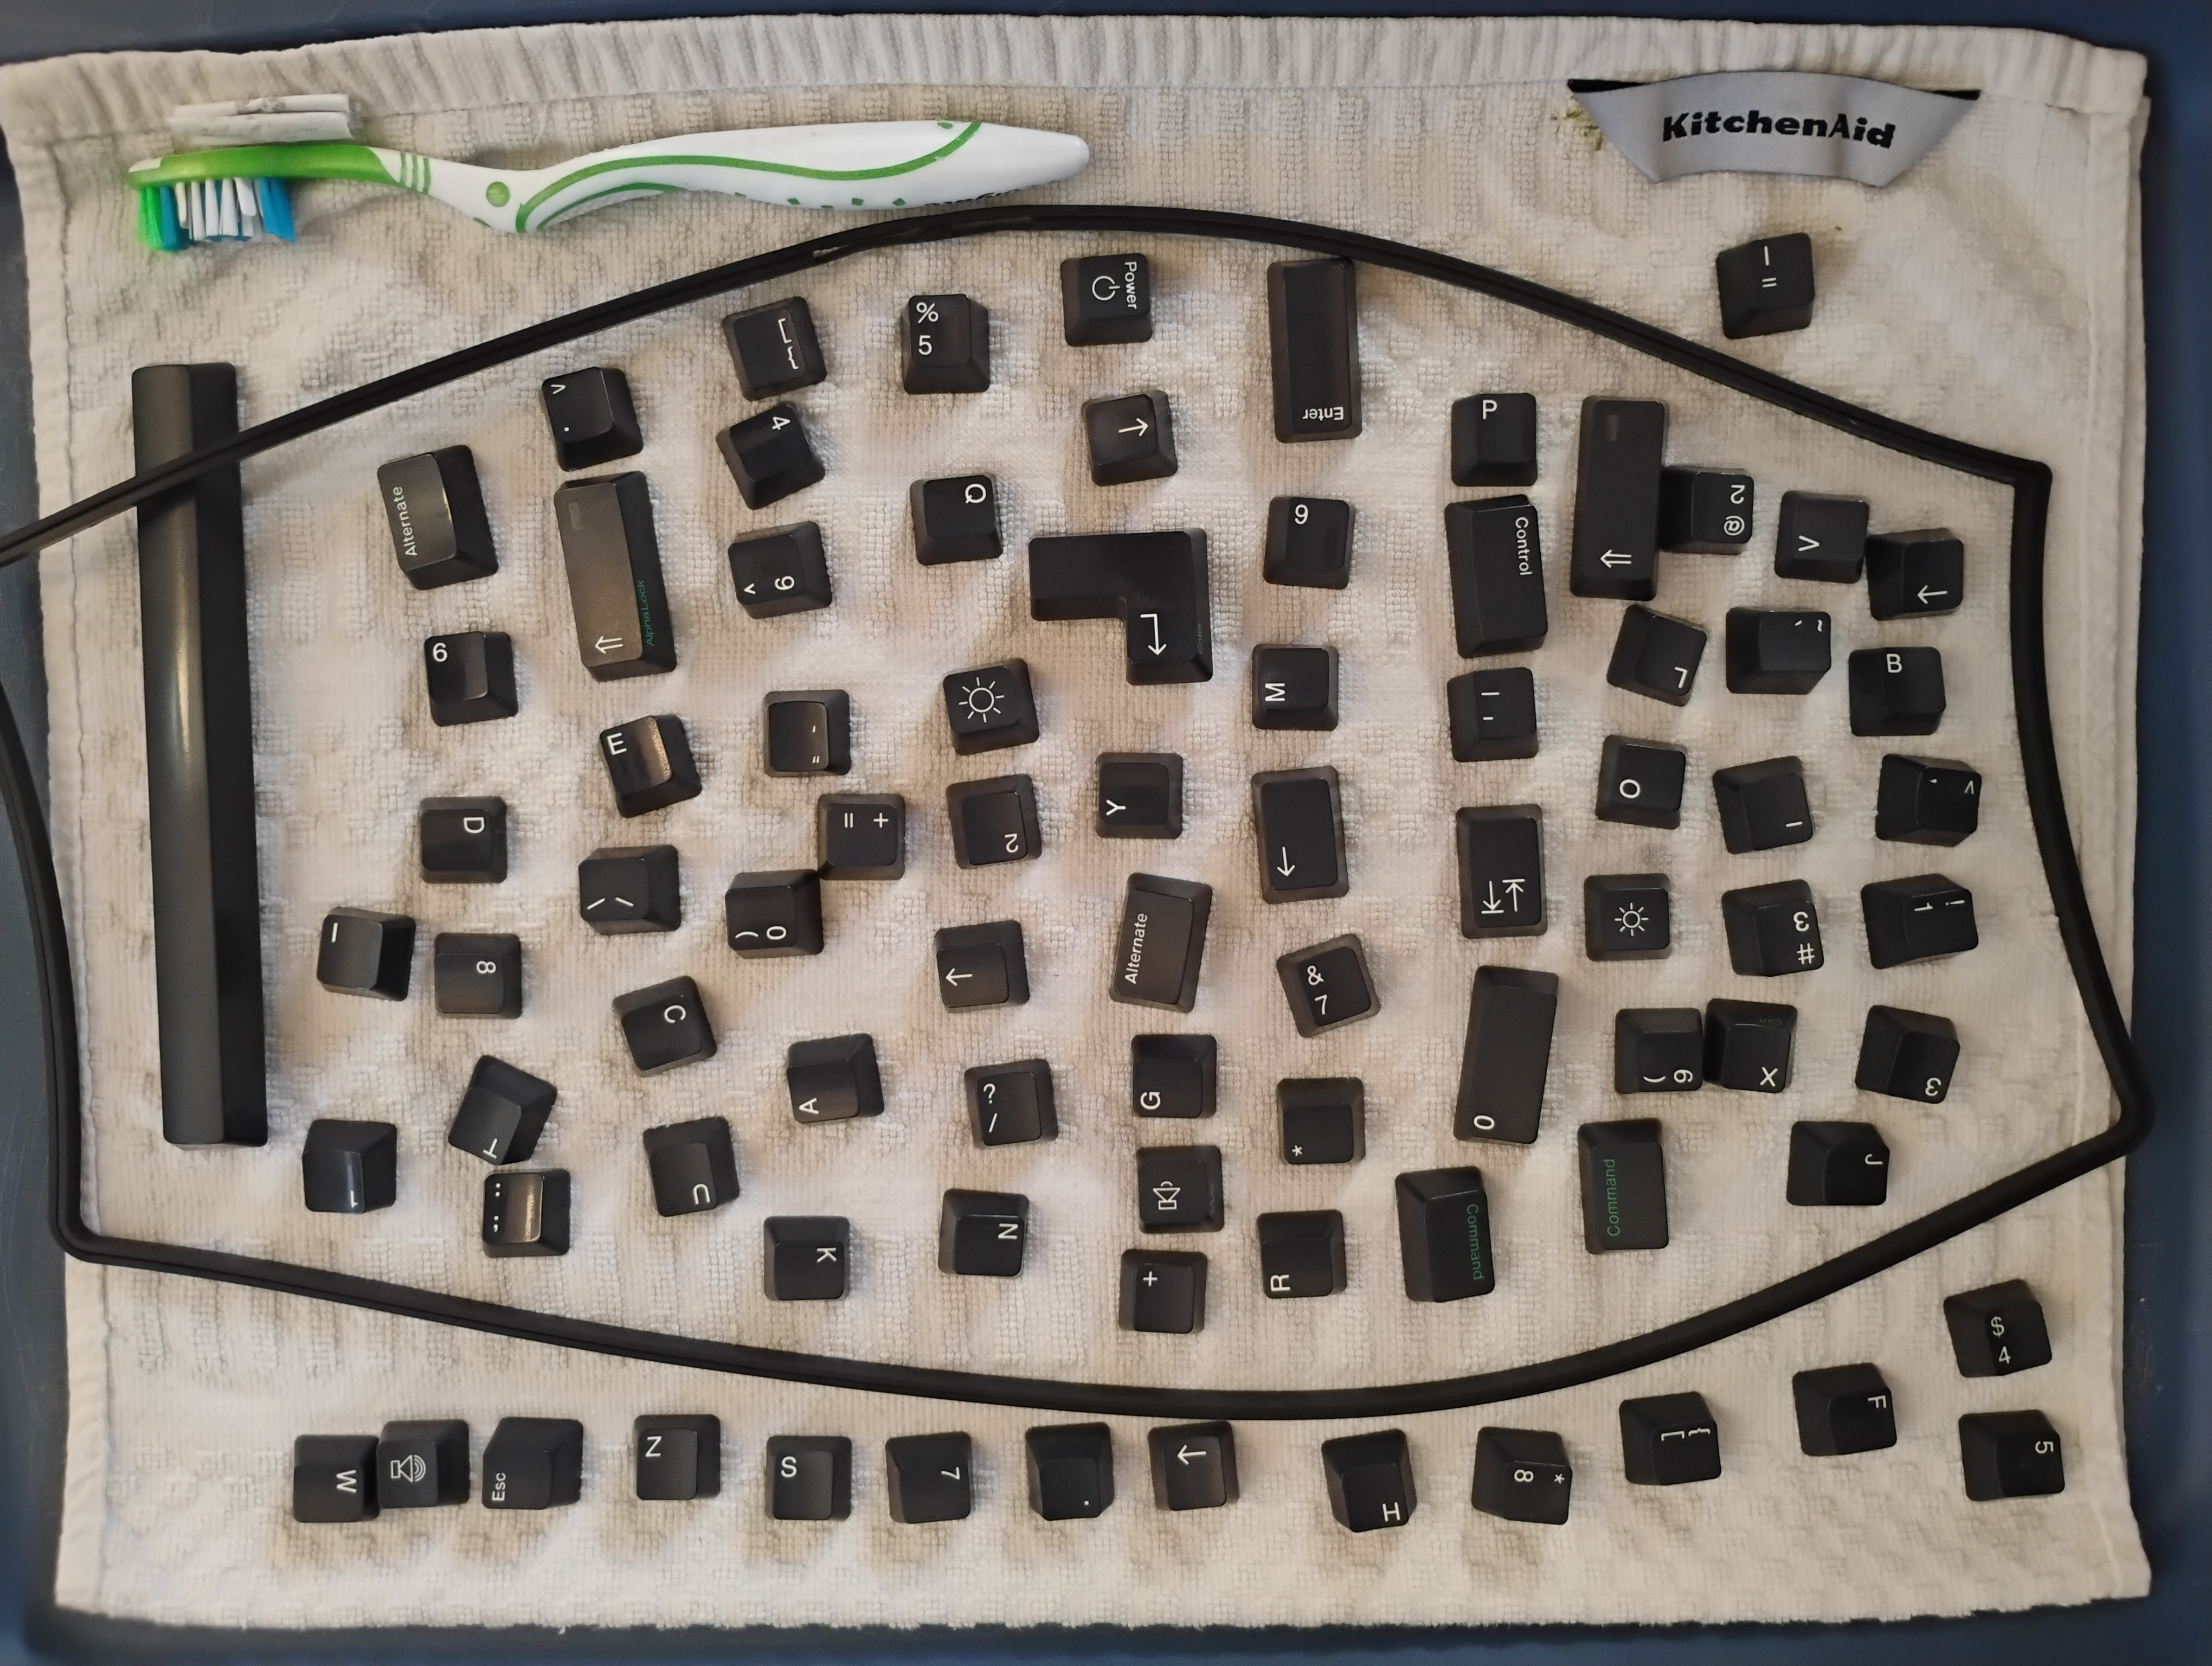
The keycaps and the rubber gasket after cleaning. |
 |
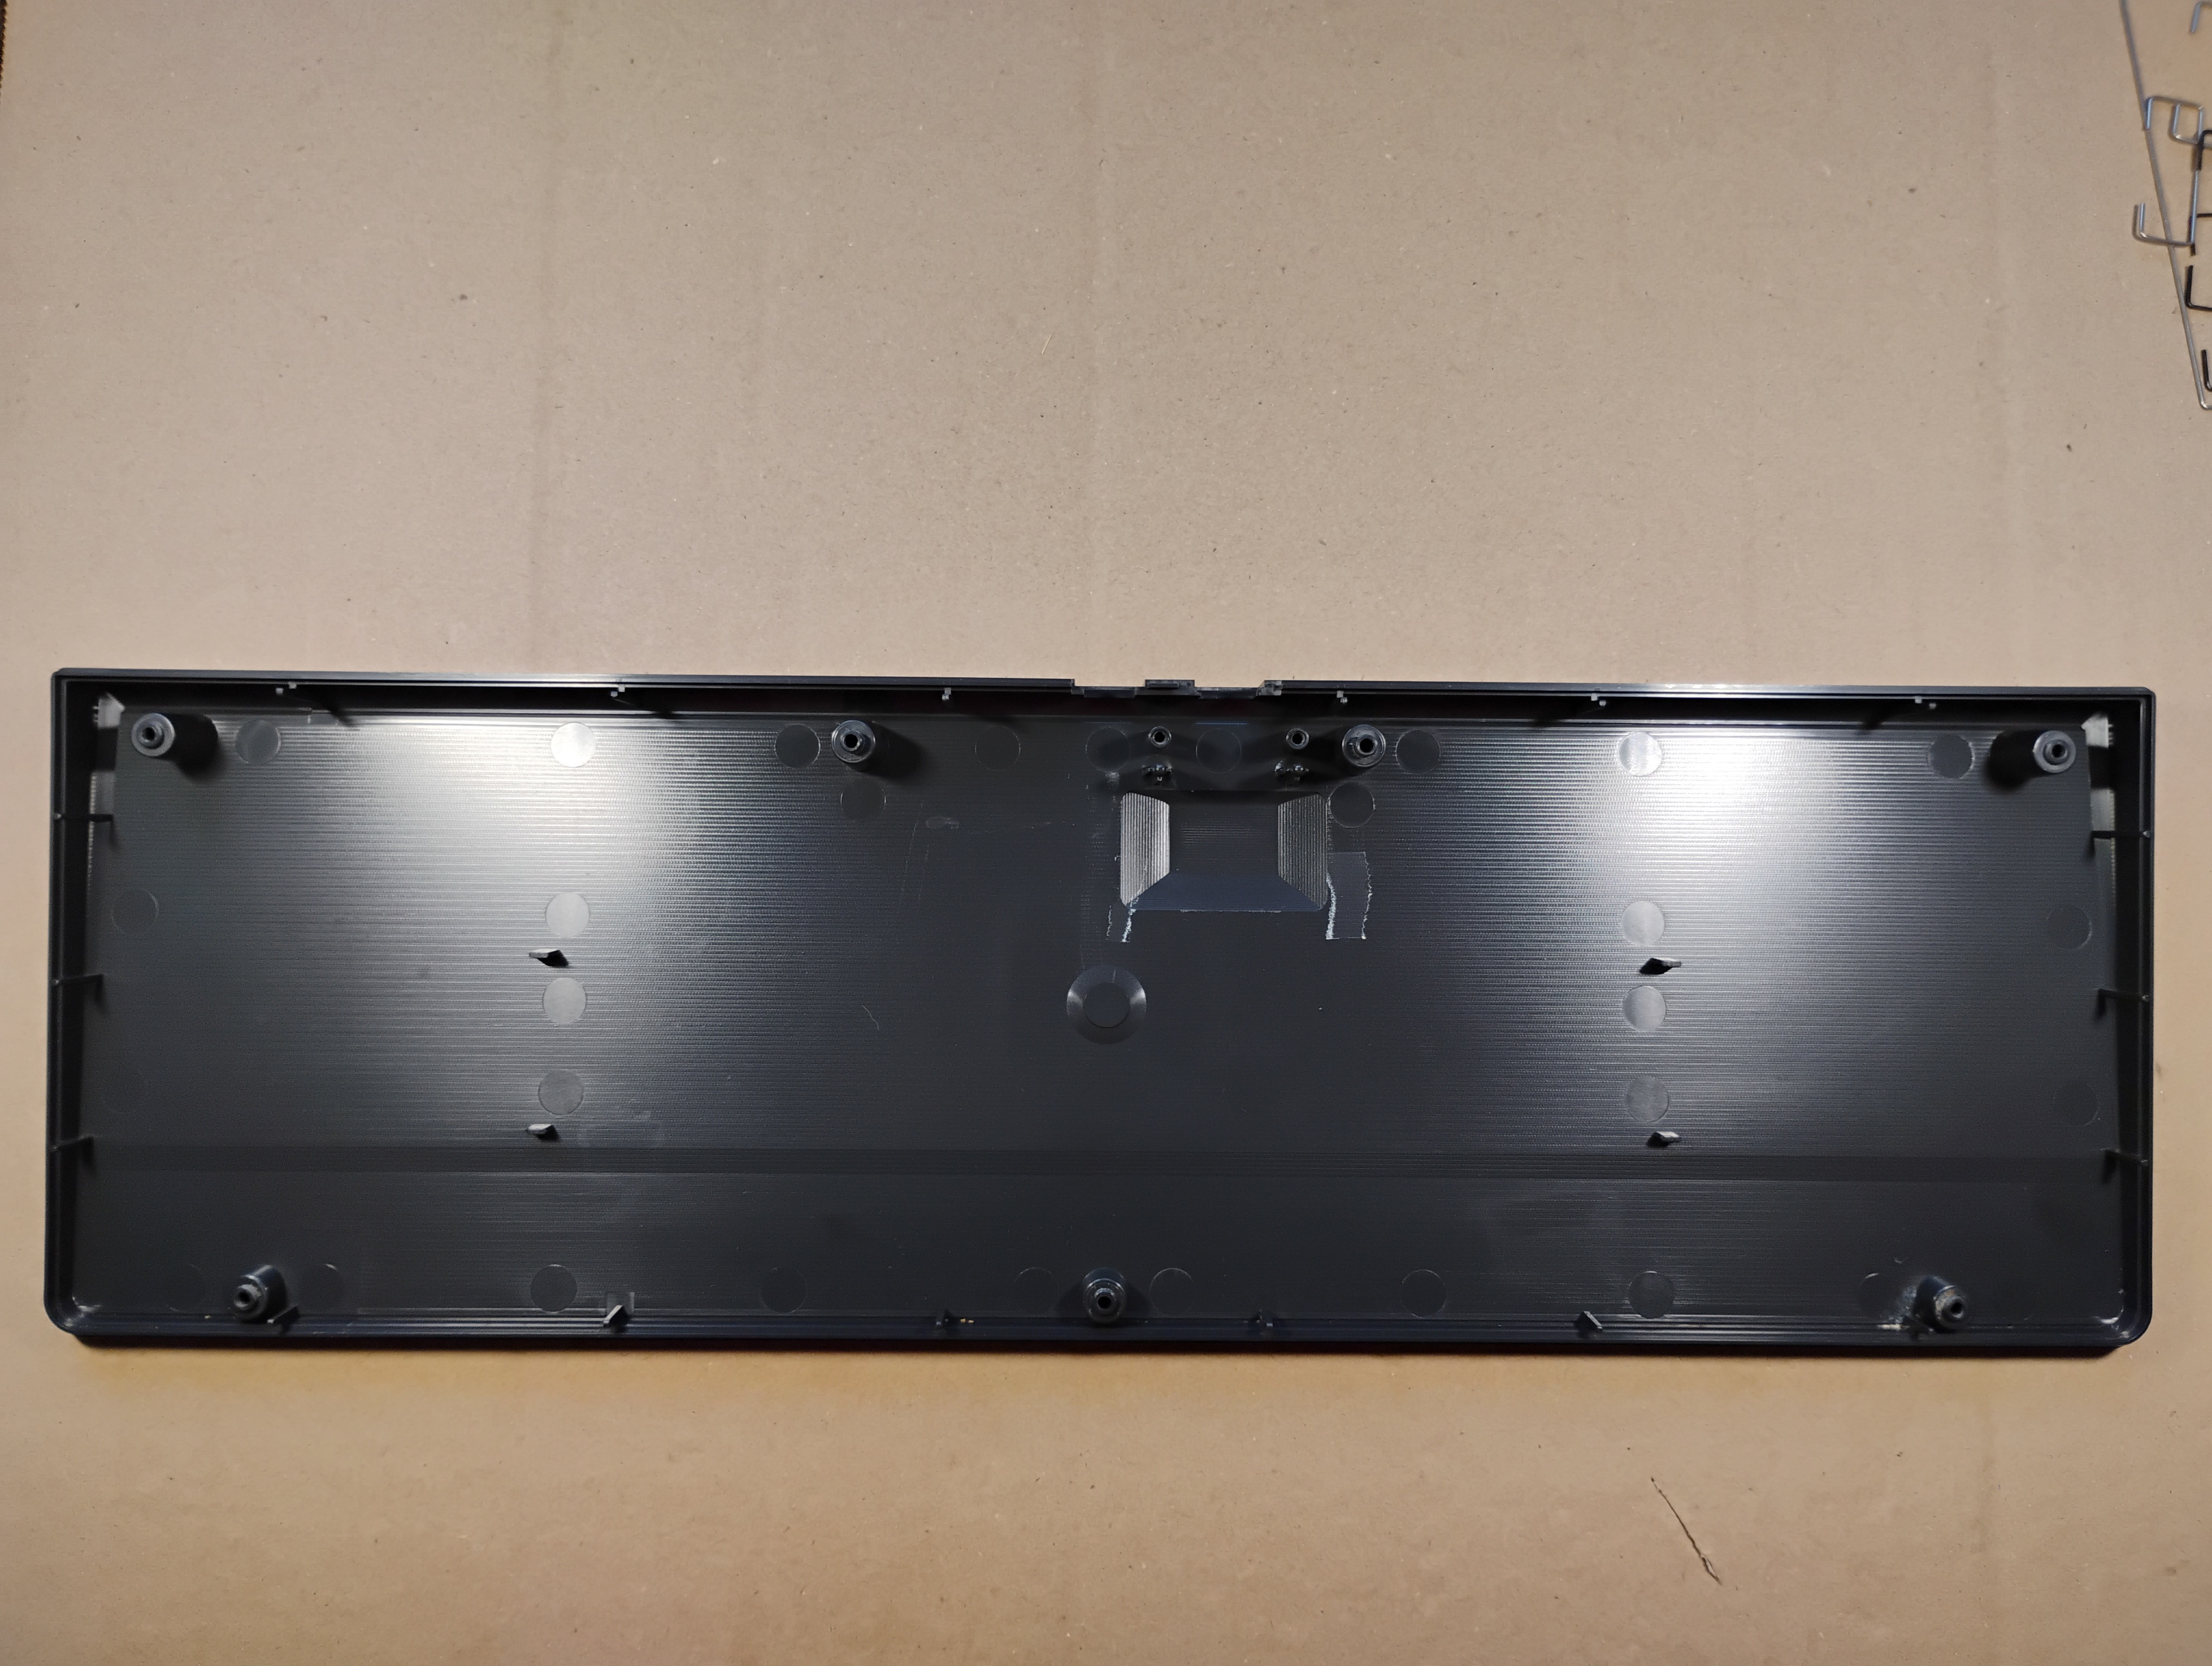
The bottom cover after cleaning. |
 |
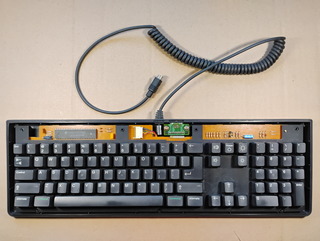
The clean keyboard plate getting back into the clean bottom cover. |
 |
The clean keyboard plate back into the bottom cover. The keyboard plate has a few dots of rust as well as a long scratch along the right side of the Return key. Definitely, some coffee must have been spilt, and a screwdriver was used to clean along the Return key. |
 |
The clean keycaps are back! I took the opportunity to check the "broken" keys: they all worked fine again, except for J. I opened the Alps SKCM switch and added a tiny piece of painter's tape on the leaf spring to push on the contact sub-assembly a little bit more and, voilà ! |
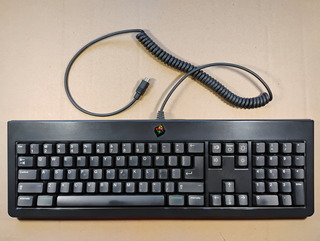 |
The clean, fixed keyboard is ready for use! |
|


