GibChingu Hardware / 2020-11-01 19:08:55GibChingu is housed in an Evo X500 case, which is probably the nicest looking case ever for an Amiga
Original HardwareThe naked truth...
Evo X500 CaseThis Amiga is hosted into a Evo X500 case by TheDaddy (see Amiga.org or AmigaWorld.net)
Necessary PartsThe parts necessary to fit an A1200 into an Evo X500 are not so many
It is simpler with a A1200 motherboard revision 1D4 or 2B because there are shorter (when removing the extra panel for the 2B) and easier to connect. The backplate was manufactured by DataPro, which provides an amazing service! Their Web site features a plate designer that is just amazing! The plans for the backplate for my Evo X500 are available on-line for others to use
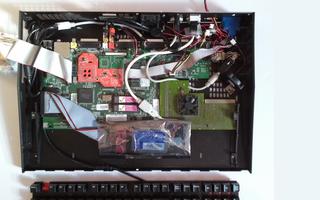
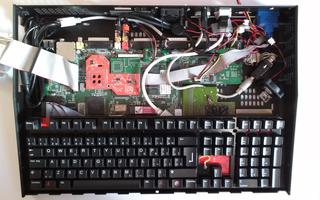
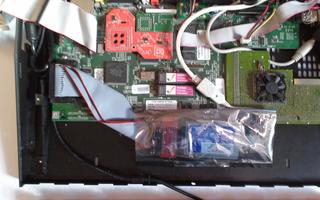
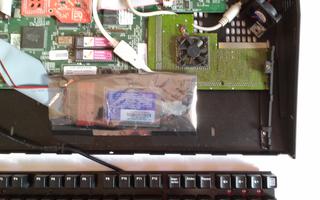
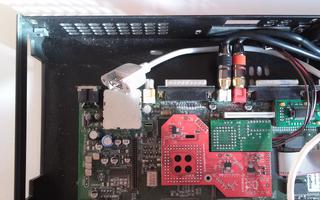
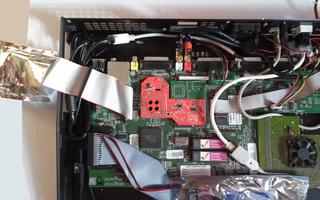
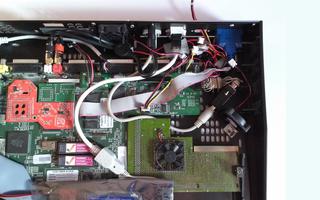
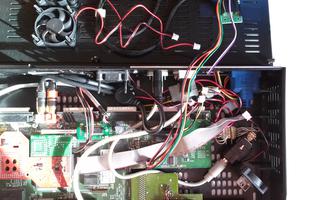
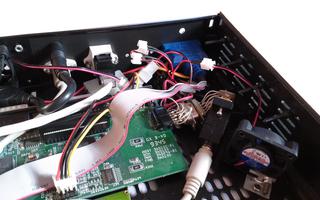
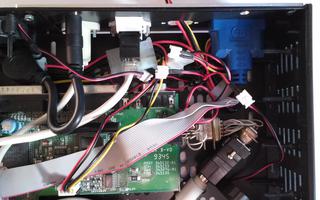
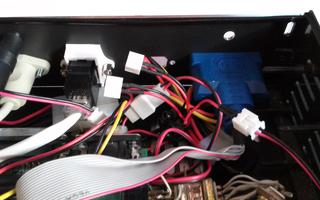
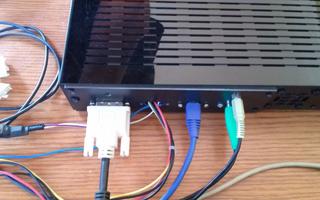
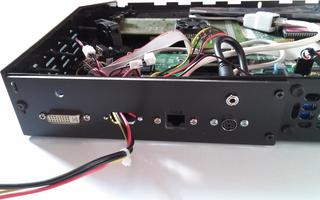
Finished Fitting 1And here are some photos with an Amiga 1200 board and other accessories fitting in the Evo X500 case:
Finished Fitting 2I completed the installation by building a "power" cable dedicated to connecting my Amiga to a regular, external, PC PSU. At first, I used a regular serial cable, to benefit from its DB9. The problem: My Amiga would not start anymore! The cause: the serial cable had too thin wires, which could not transmit enough power from the PSU to the Amiga The solution: build my own cable using wires from another, broken PSU (i.e., the cable connecting the Molex connectors to the PSU). These wires are actually quite think and have no problem transmitting the required power Now, the case is closed
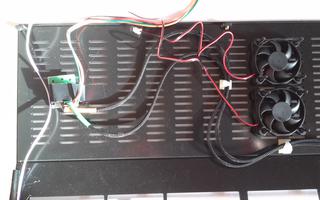
Also, to increase the stability of my Amiga, I relocated and fastened securely three fans, in addition to the fan already present on the Blizzard:
Finished Fitting 3By the end of 2019/early 2020, my Amiga started to behave strangely: although it would run well, the screen would sometimes go dark, as if the DVI output was "lost". It would not matter whether I press down the Indivision connection, this behaviour would happen more and more often. The longer my Amiga would run, the more it seemed to happen. With TUMO's help, we chase the problem to a combination of problems, with root cause the PSU. I was using a PC PSU that was, as most PC PSU, regulated on the +12V, not the +5V. It seems that the +5V would vary greatly depending on the "load" of my Amiga. Besides, I was using two old DB9 connectors (female ⇔ Male) to connect the outside PSU to the insider floppy connector and there was a gigantic drop in voltage between the outside female connector and the inside male connector: from +5V to +4.65V The solution was also multipart:
The Amiga PSU connector on the Amiga motherboard has five pins: +5V, +12V, -12V, GND, and Shield. Actually, Shield and GND are linked together on the motherboard. The pins are as follows:
Since making this new wiring and installing the fans, my Amiga can run hours without any problem, running AmiModRadio and Myzar constantly | |||||||||||||||||||||||||||||||||||||||||||||||||||||||||||||||||||||||||


 .
.
 . The Evo X500 is a custom made case designed to host mini ATX boards and featuring a USB Cherry MX Black. The Evo X500 arrives well protected in its box and taking it out is a great pleasure so beautiful it is! Here are some photos taken of different parts:


 :
:


 .
.


 .
.